Crepes Bonaparte – Food Truck Review

I had the pleasure of eating lunch at Crepes Bonapartes http://www.crepesbonaparte.com food truck the other day.  I am not the biggest crepe fan by any means and I am not sure I am now however; this was a wonderful lunch and inspired a similar sandwich creation at home.  I had the King Brie crepe.  The king brie is creamy brie, crisp apple slices, bacon and turkey breast.  Great combination.  Nothing was served with the crepe and I think some greens with vinaigrette would have balanced this rich lunch out nicely.

Crepes Bonaparte was featured on the Food Networks “On The Road” show.  From their Facebook page “Crepes Bonaparte gourmet food truck and private event crepe bar catering recreates the experience of enjoying French crepes on the streets of Paris, France with made to order breakfast, lunch, and dessert style crepes.”

I really enjoyed my lunch here with two exceptions; I think my crepe was a tad too crispy and it needed something clean and sharp on the side.


20140107_111543

20140107_111559

20140107_111701

20140107_111743

20140107_120524

20140107_120528

Crepes-Bonaparte-Menu-1000

Advertisement

Eggs Benedict Arnold.

You win some, you lose some, you completely botch some.

I was craving Eggs Benedict so I made them. Including the Hollandaise sauce…from scratch. I’ve had better. Not worse, but definitely better.

You see, what had happened was…I forgot a lemon at the store and figured oh well I have lemon powder that is dried out lemon juice. I love lemon and lemon powder might have over Super duper charged the lemon juice I made or the powder turned on me.

For this you need: Shaved Virginia Ham, free range eggs, English muffins, butter, fresh lemon juice and humility should it not turn out. I used salted butter and then added salt.  I think the two, salt and bad lemon mojo, conspired to humble me on this most aggrevating Tuesday.  The dogs liked it, but frankly they lick their own butt.

image

I am not posting any further recipe at this time because it did not turn out BUT I will re-post this when I have figured out where I mucked it up.

Best Brie Sandwich – I shall call you Yum and love you forever.

Who doesn’t love a grilled cheese sandwich?  If you don’t you should leave now and forget you ever saw this place.  I love the gooey melty cheese and the most satisfying crunch of the warm toasty bread.  I usually make grilled cheese on the panini press because it works by heating and toasting the bread from the top and bottom at the same time.  The only downfall of this is that if you are using a fluffy bread like Brioche then the weight of the press counteracts that fluffiness.

Another thing I do when making grilled cheese is I melt the butter and apply it with a pastry brush.  I think this allows you better control over the amount of butter you apply.  Typically you don’t need much to give you that buttery crunchy outside.  You can also add things to the butter like garlic or tarragon or other delicious additions.

I wasn’t in the mood to present the boys with Brie today so I made them a simple sharp cheddar and green apple grilled cheese and they LOVED it.  It is really easy to adapt sandwiches to suit all the members of your families personal tastes.  All hail the sandwich.  Lets get to this sandwich called YUM.

OLYMPUS DIGITAL CAMERA

What you’ll need: melter butter, Sourdough: the king of breads. Creamy Brie cheese, sliced Granny Smith apples, turkey and a little bacon.   Please pre-cook the bacon; don’t expect the bacon to cook in the middle of your sandwich.

First things first, give yourself 3 good sized slices of Brie and slice your apples about 1/8 inch thick.  Next you will want to either turn on your panini press and set to medium or preheat your pan.

Lightly, really, lightly butter both pieces of bread on one side.

OLYMPUS DIGITAL CAMERA

Place on slice of bread in the pan or on the press, followed by the Brie, the apple slices, the bacon and finally the shaved turkey and second slice of bread.

OLYMPUS DIGITAL CAMERA

OLYMPUS DIGITAL CAMERA

If you are using a panini press close the lid and let it go for 4-5 minutes until the bread is golden amber brown and the Brie is just oozing out the side of the sandwich.  If you have chosen to use a pan, then proceed as usual for creating a grilled cheese.

OLYMPUS DIGITAL CAMERA

OLYMPUS DIGITAL CAMERA

OLYMPUS DIGITAL CAMERA

OLYMPUS DIGITAL CAMERA

OLYMPUS DIGITAL CAMERA

Rogue Chili – got dang purt near burned my face

Ok this will be quick, I’m making dinner for the boys, creole chicken with cheese grits. I decided to throw a little Anaheim chili in with the grits so I cut it in half and was chopping it up and thought to myself ” I’ll eat a big piece as a snack, they aren’t hot” I dang near burned my face off. This Anaheim chili was as hot as a Serrano chili.

Lesson learned boys and girls, test your chili before throwing it in the pot.  Disaster avoided.

Eat well.

Jeffrey

Devilicious – food truck review, a little luxury at lunch.

image

image

image

So there is some upcoming construction at work and they have called in the food trucks to give us more lunch options as moving our cars on our lunch break will become very difficult; nice gesture I think.

Yesterday I had the pleasure of getting my lunch from the Devilicious Food Truck http://deviliciousfoodtruck.com/.  Devilicious was part of the show The Great Food Truck Race on the Food Network.  The masterminds behind this comfort food kitchen on wheels are: Dyann Huffman, Kristina Repp and Mark Manning according to the information I found in their Food Network bio.  My apologies if there have been changes since that bio was posted.

The pleasure was all mine as I  wolfed down savored the duck confit grilled cheese with caramelized red onions, gruyere and mozzarella with a honey port reduction on freshly baked sourdough bread.  To my surprise it was served with some mixed baby greens in a balsamic vinegar dressing; more on that in a minute. “Confit is an old French technique for preserving duck legs in fat. Although most people no longer have to keep duck through the winter without refrigeration, the technique is still used a lot because it makes for delicious eating. The only difficult part is coming across enough luscious duck fat—you can order it for yourself from www.hudsonvalleyfoiegras.com orwww.dartagnan.com. You can render duck fat yourself, or you can substitute lard. Once you make confit, you can keep it in the fridge for months.” (Davis, 2006)

The grilled cheese was of a generous but not over the top size and was proportionate to its $9.00 price tag.  There was plenty of delicious duck and plenty of gooey cheese.  The bread was of a good quality; chewy with a great crust and was toasted perfectly. I am a big bread fan and this was good bread; I forgot to ask which bakery was supplying them…next time.

I thought the sandwich was soft and chewy, but don’t be fooled, this was not a soggy sandwich, something I really appreciated.  Duck is greasy on its own and luckily I had those mixed baby greens with the dressing as the vinegar helped to cut through some of the richness and duck fat. Great addition and a nice surprise.  I would most definitely order this again and again.  I’m actually craving one right now.
image

image

Davis, M. (2006). Duck confit. Retrieved from http://www.jamesbeard.org/recipes/duck-confit

Risin’ up straight to the top…of my favorite foods list! Tall Boy Biscuits

We all know the song.  Catchy tune.  If you don’t know what song I am referencing then email my husband for a pop culture education.  That is his realm, not mine.  I can’t name but a handful of actors, singers; Dame Judy Dench, Dame Hellen Mirren, Emily Blunt, Meryl Streep, you catch my drift…  I love British films or at least British actors.  Maybe these are proper English tea biscuits but I sincerely doubt it.

Anyway, welcome to my first real attempt at making biscuits.  I’m a prodigy so they turned out perfectly. Actually I am just kidding…about the prodigy thing; I think we all remember the cheese straw incident but the biscuits did turn out perfectly.

I researched a couple different recipes and sort of averaged them out.  I had plenty of flour and shortening so the risk on these was low, except cutting in the shortening which I actually did with two knives. Ree Drummond, The Pioneer Woman http://thepioneerwoman.com/ stated this method would never work for her but it does indeed work. (Someone PLEASE send me a pastry cutter because two knives took forever!!!)

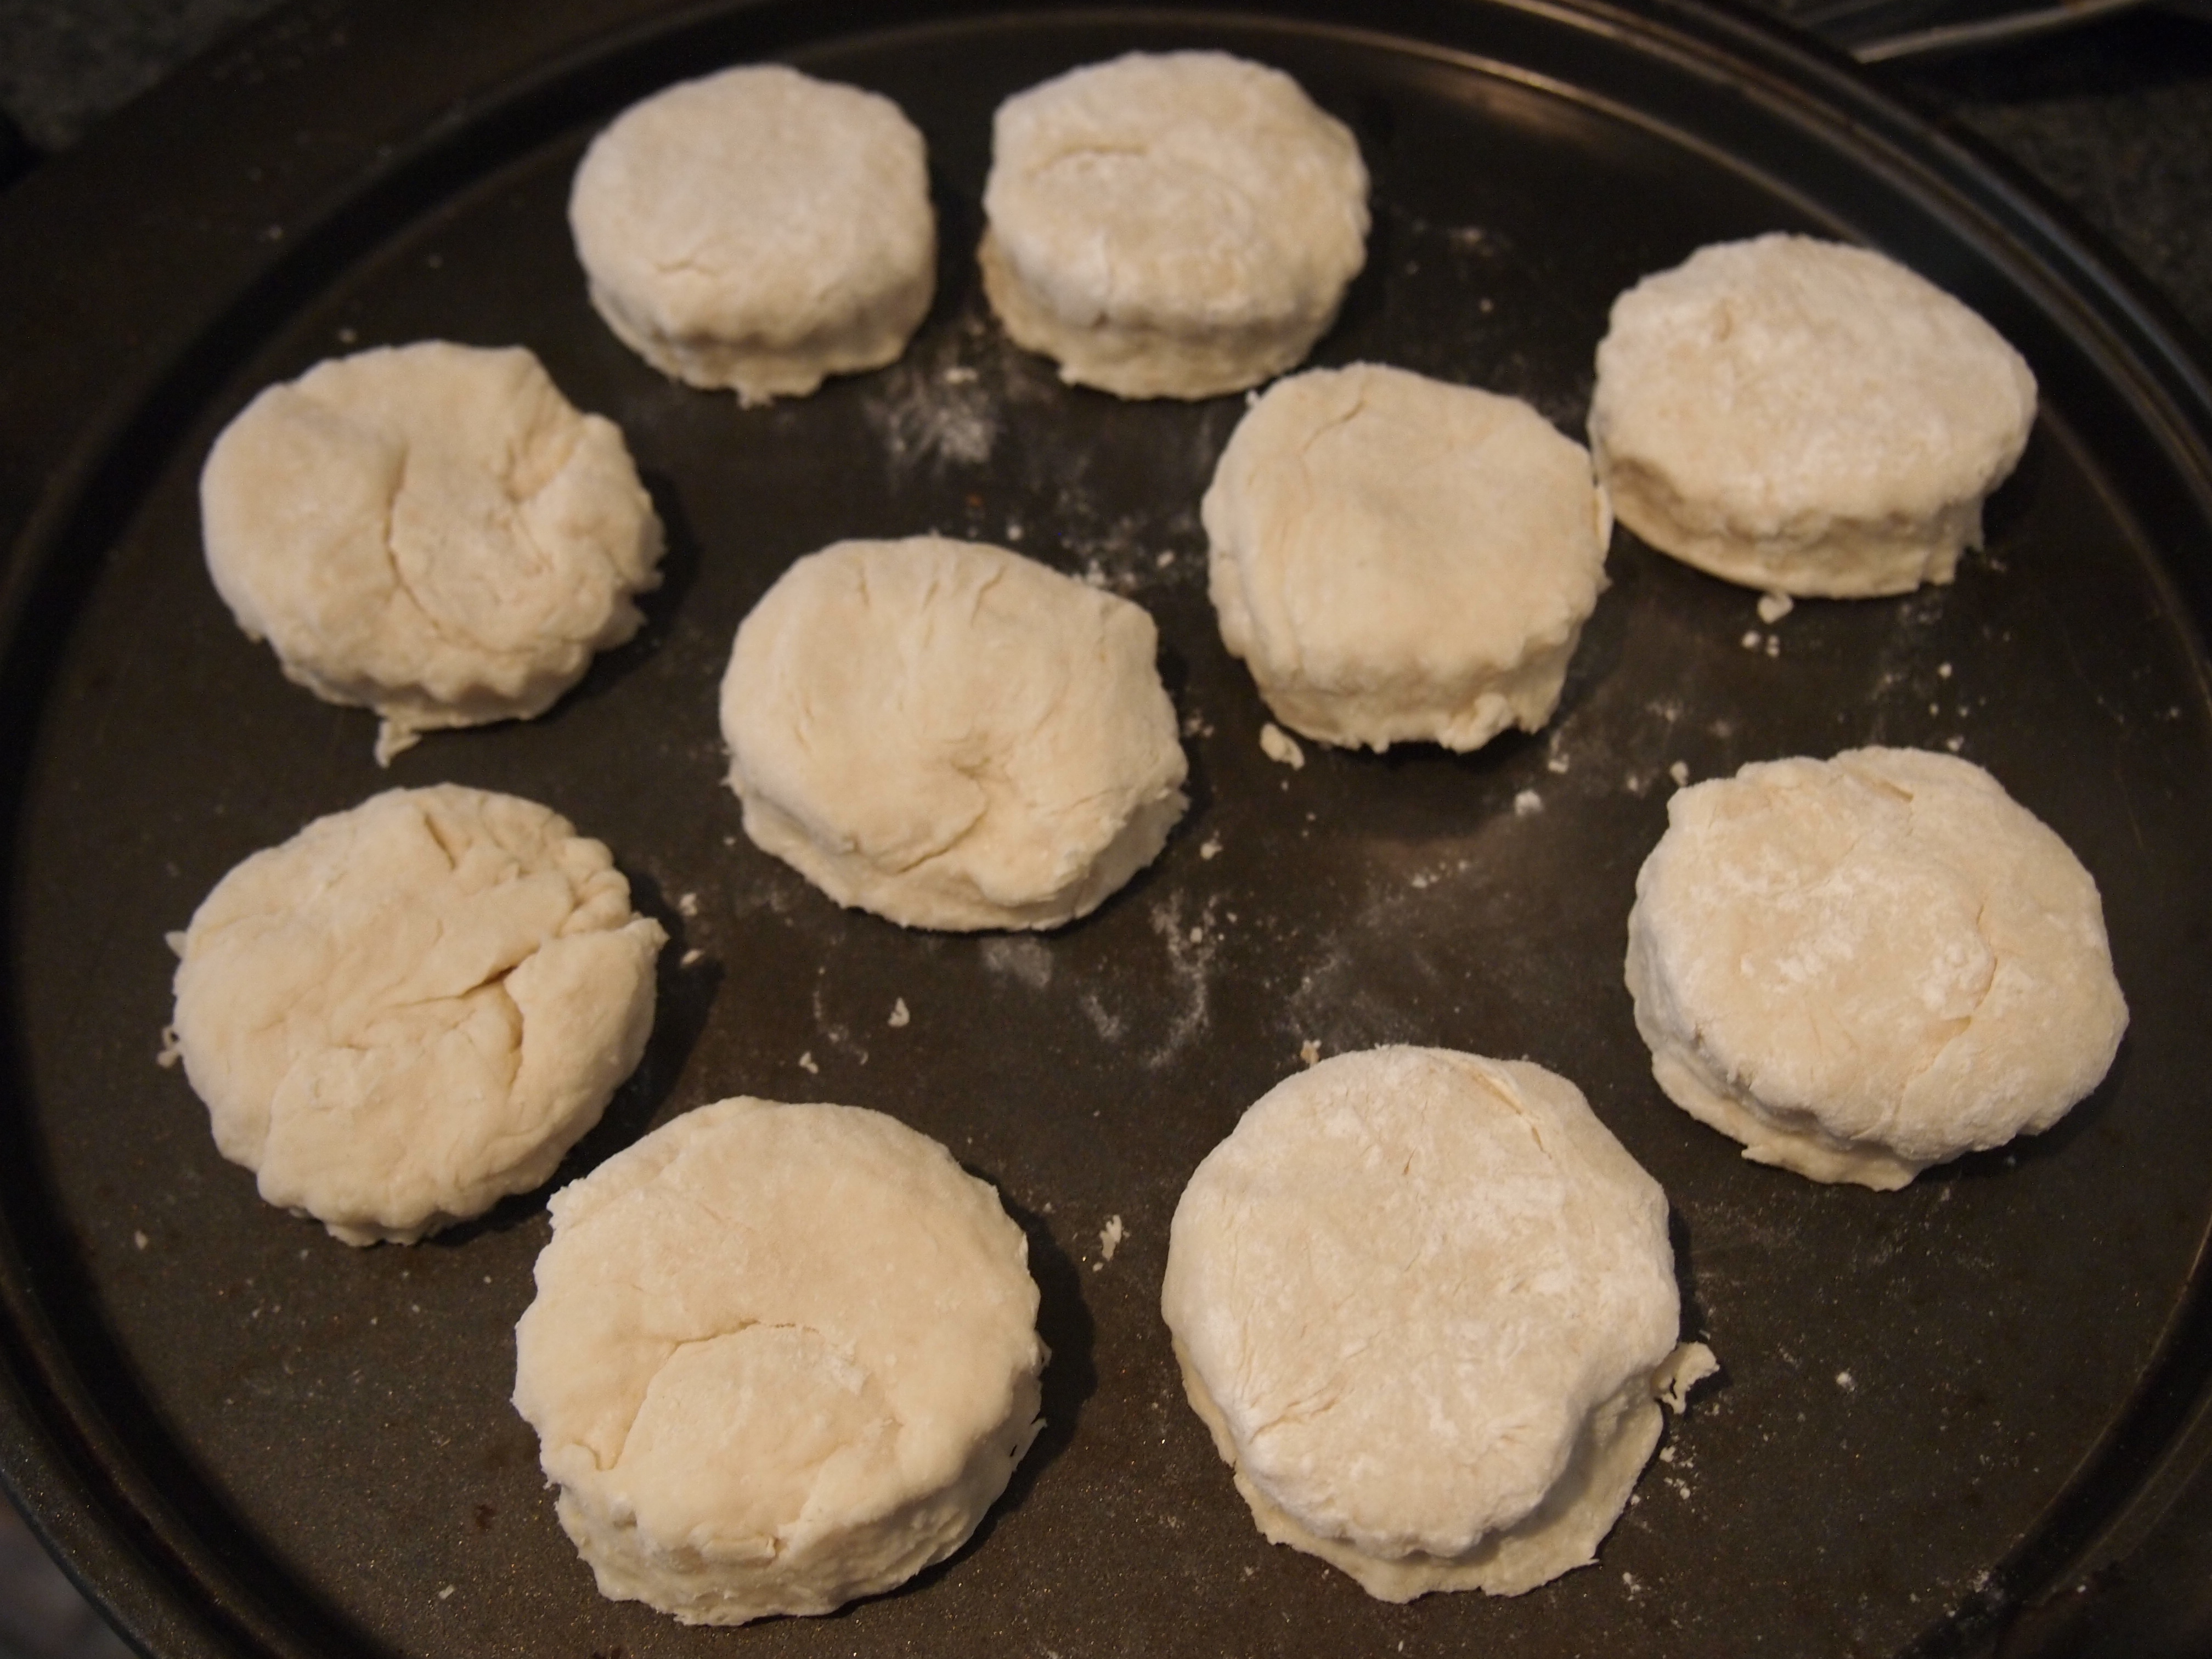
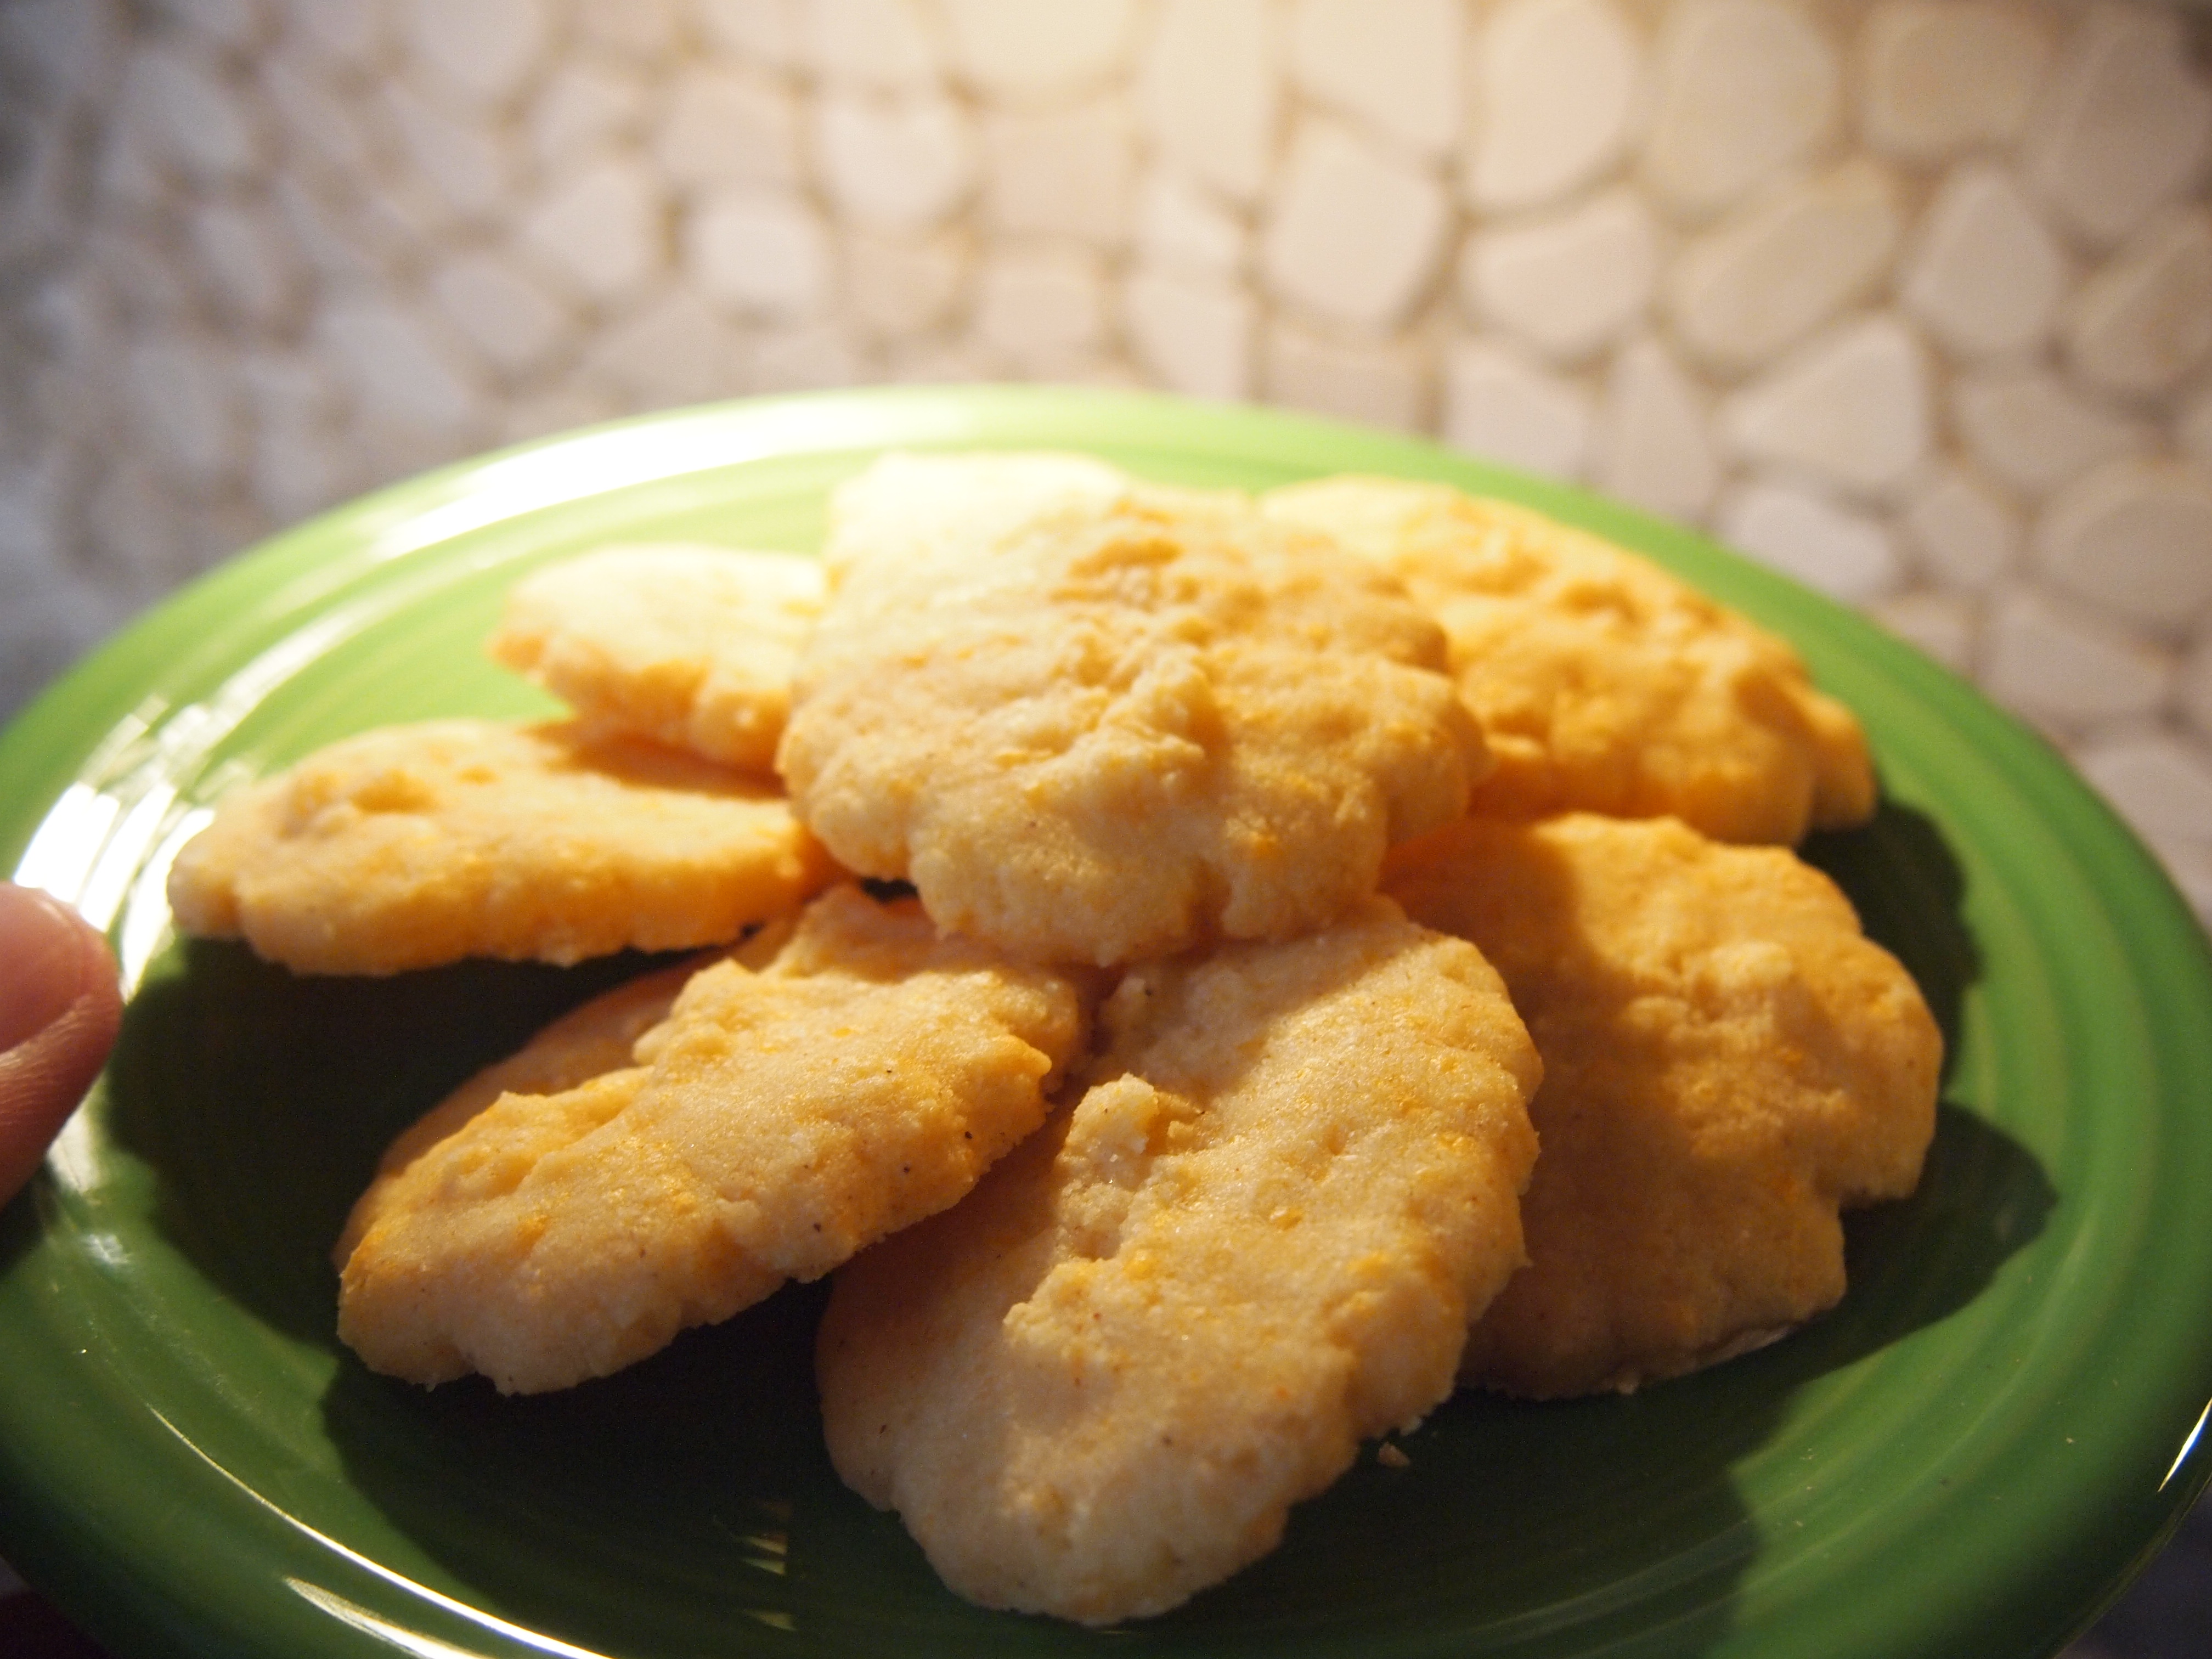
This recipe  made 11 2 inch biscuits.  I wish I had made them larger, but you live, eat and learn.

OLYMPUS DIGITAL CAMERA

my usual all ingredient picture

OLYMPUS DIGITAL CAMERA

little salt dish we received more than 5 years ago as a wedding gift, I think Alton Brown has the same one

OLYMPUS DIGITAL CAMERA

flour leveled off with a knife, you should really weigh flour when baking

OLYMPUS DIGITAL CAMERA

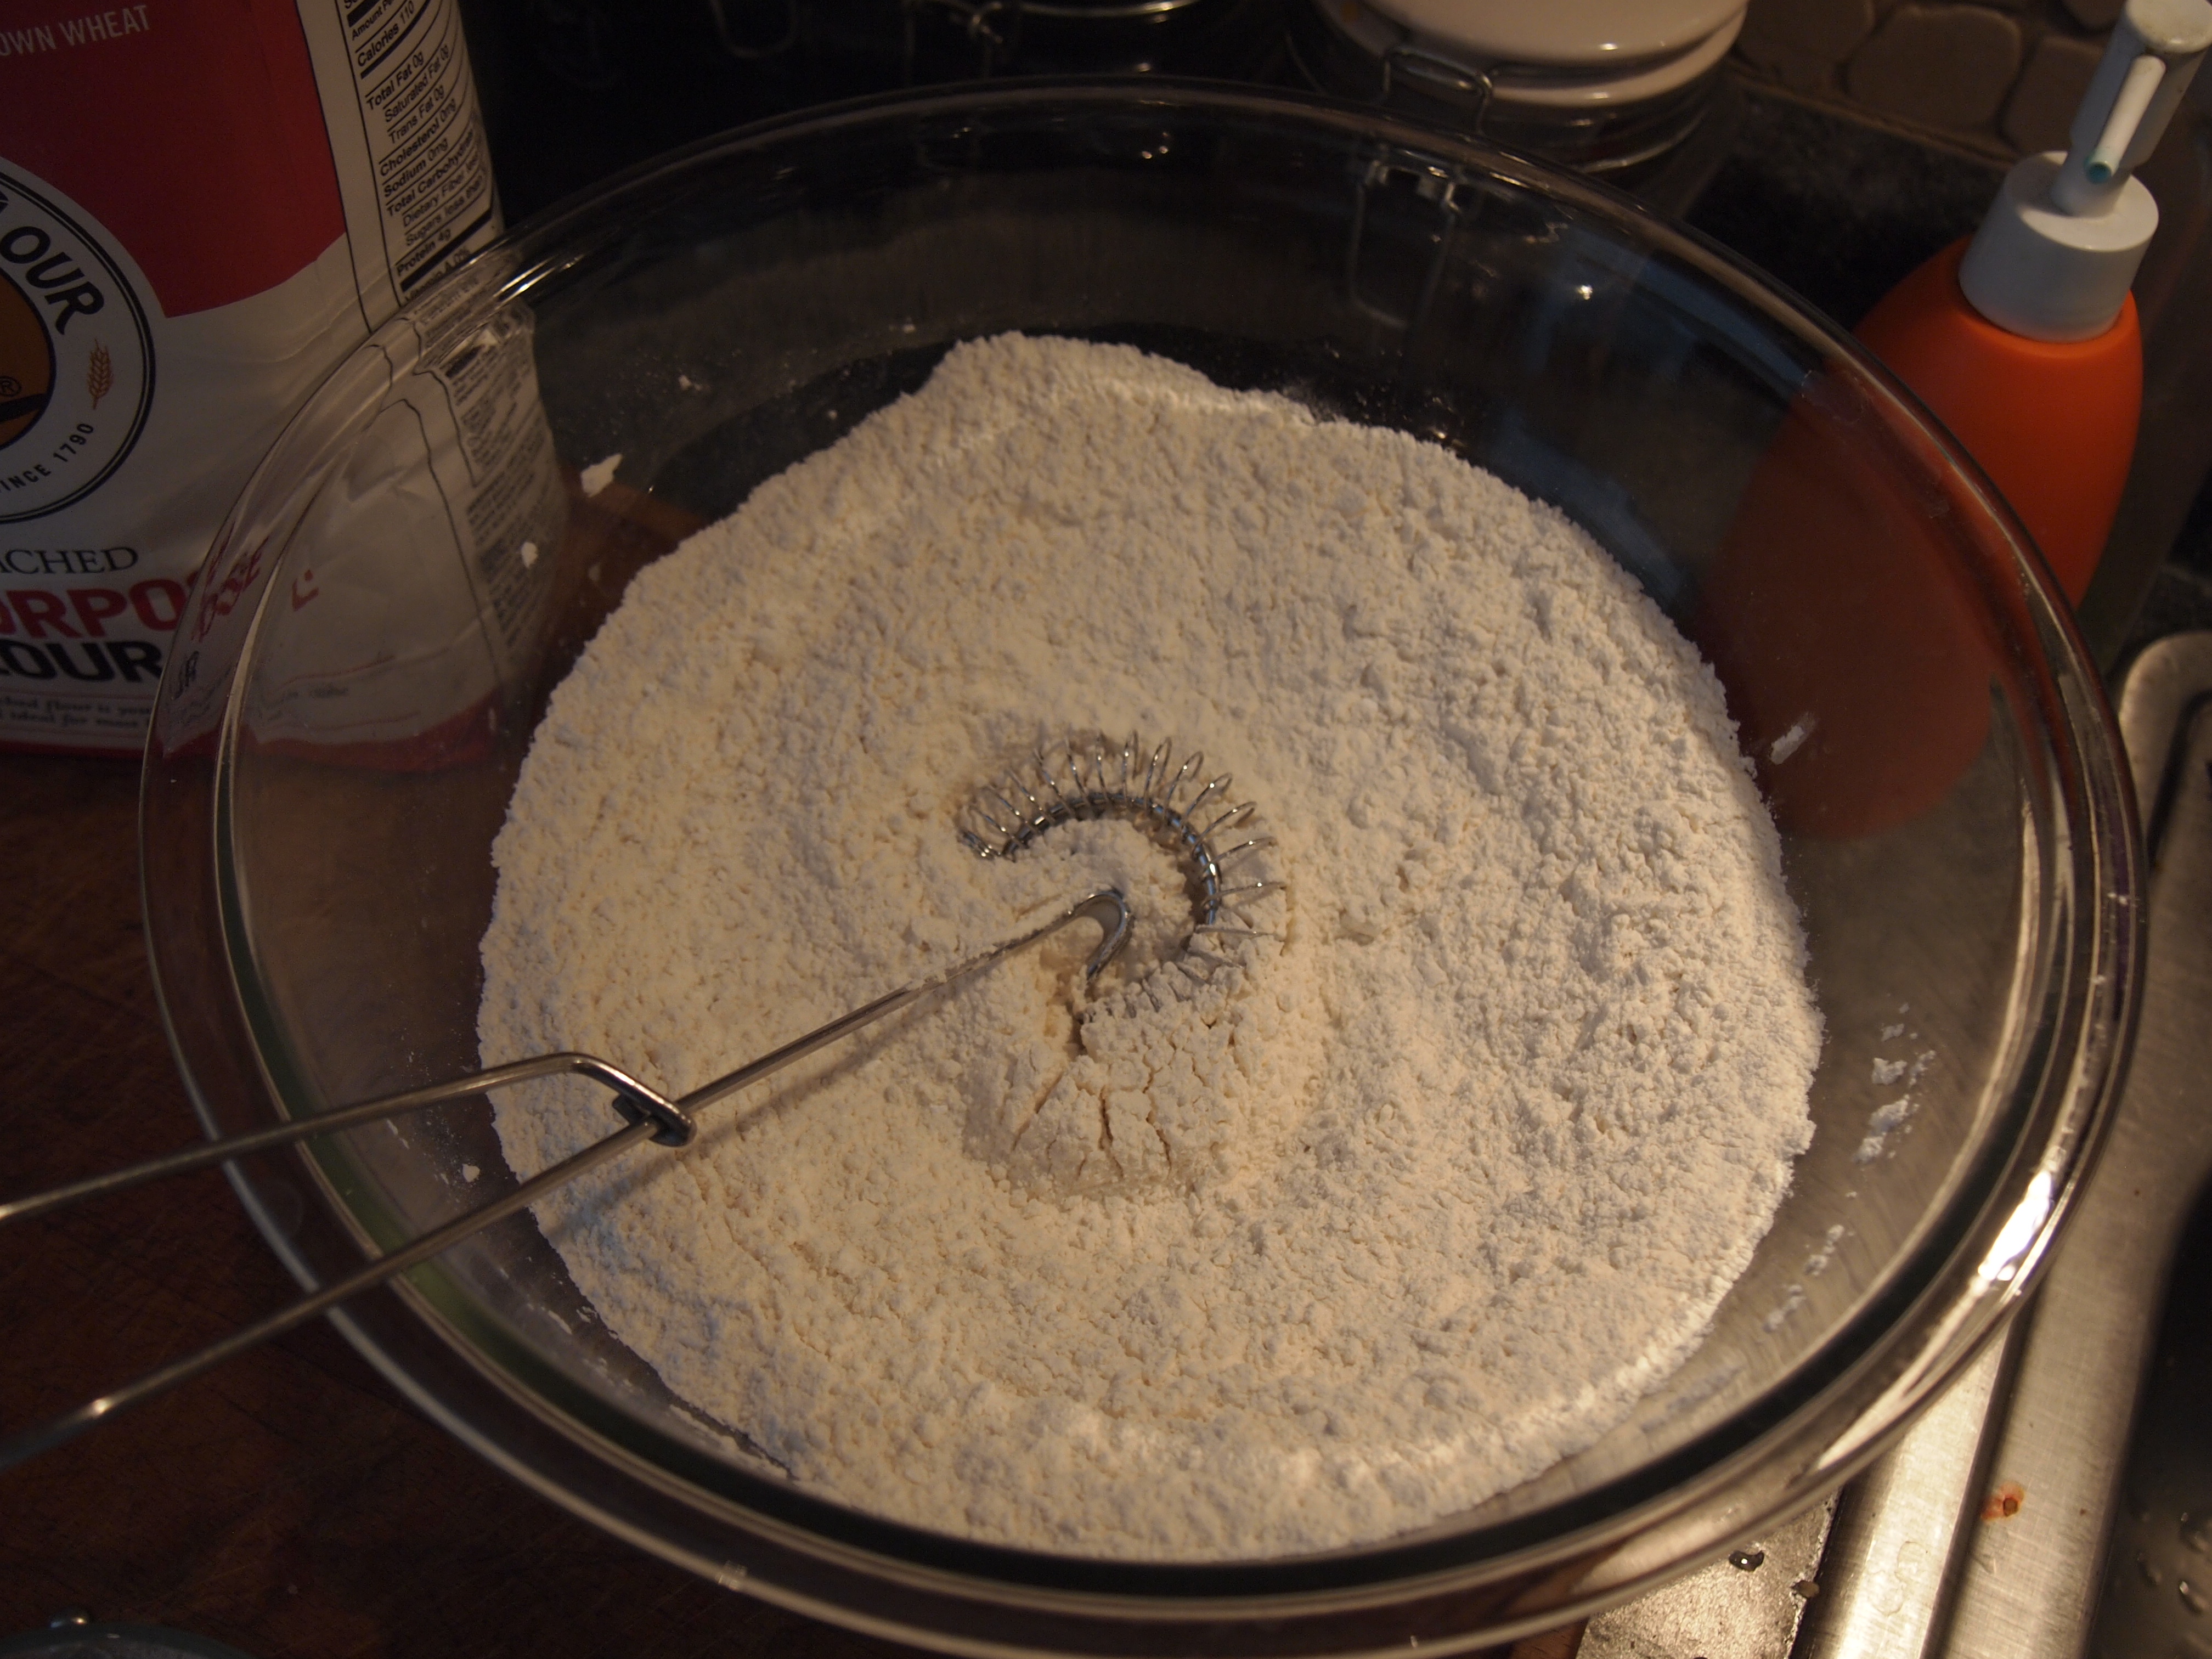
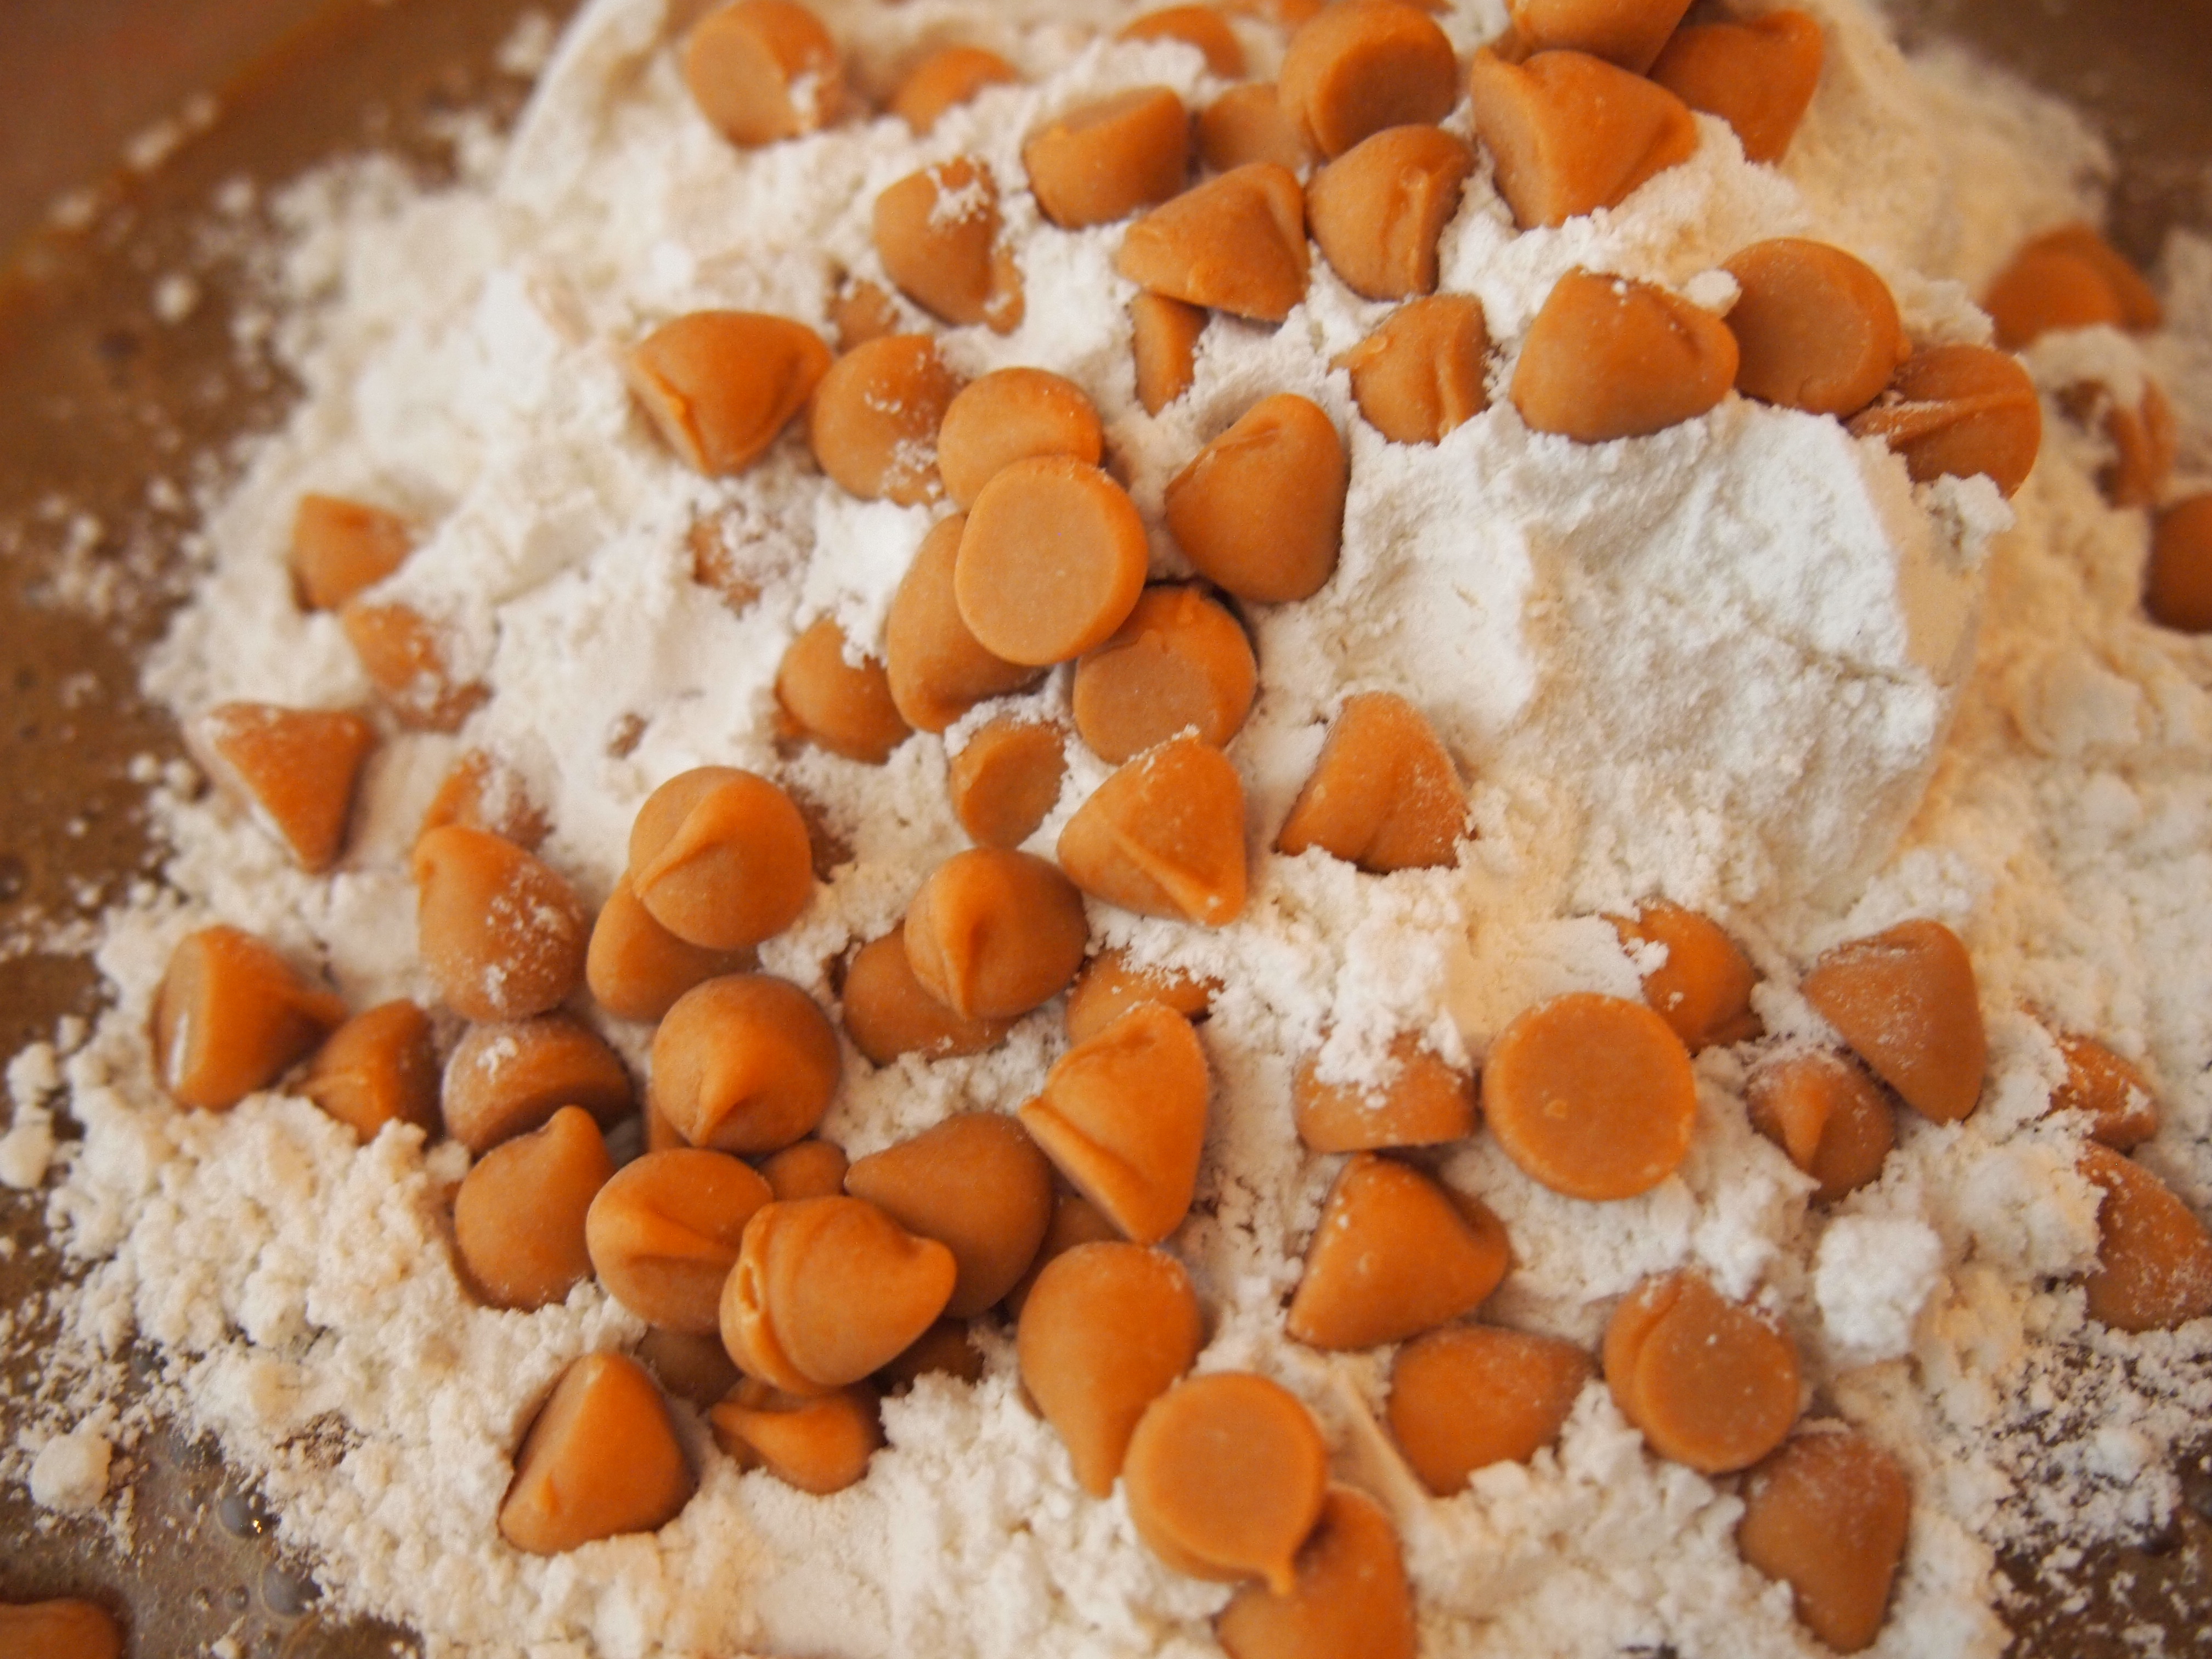
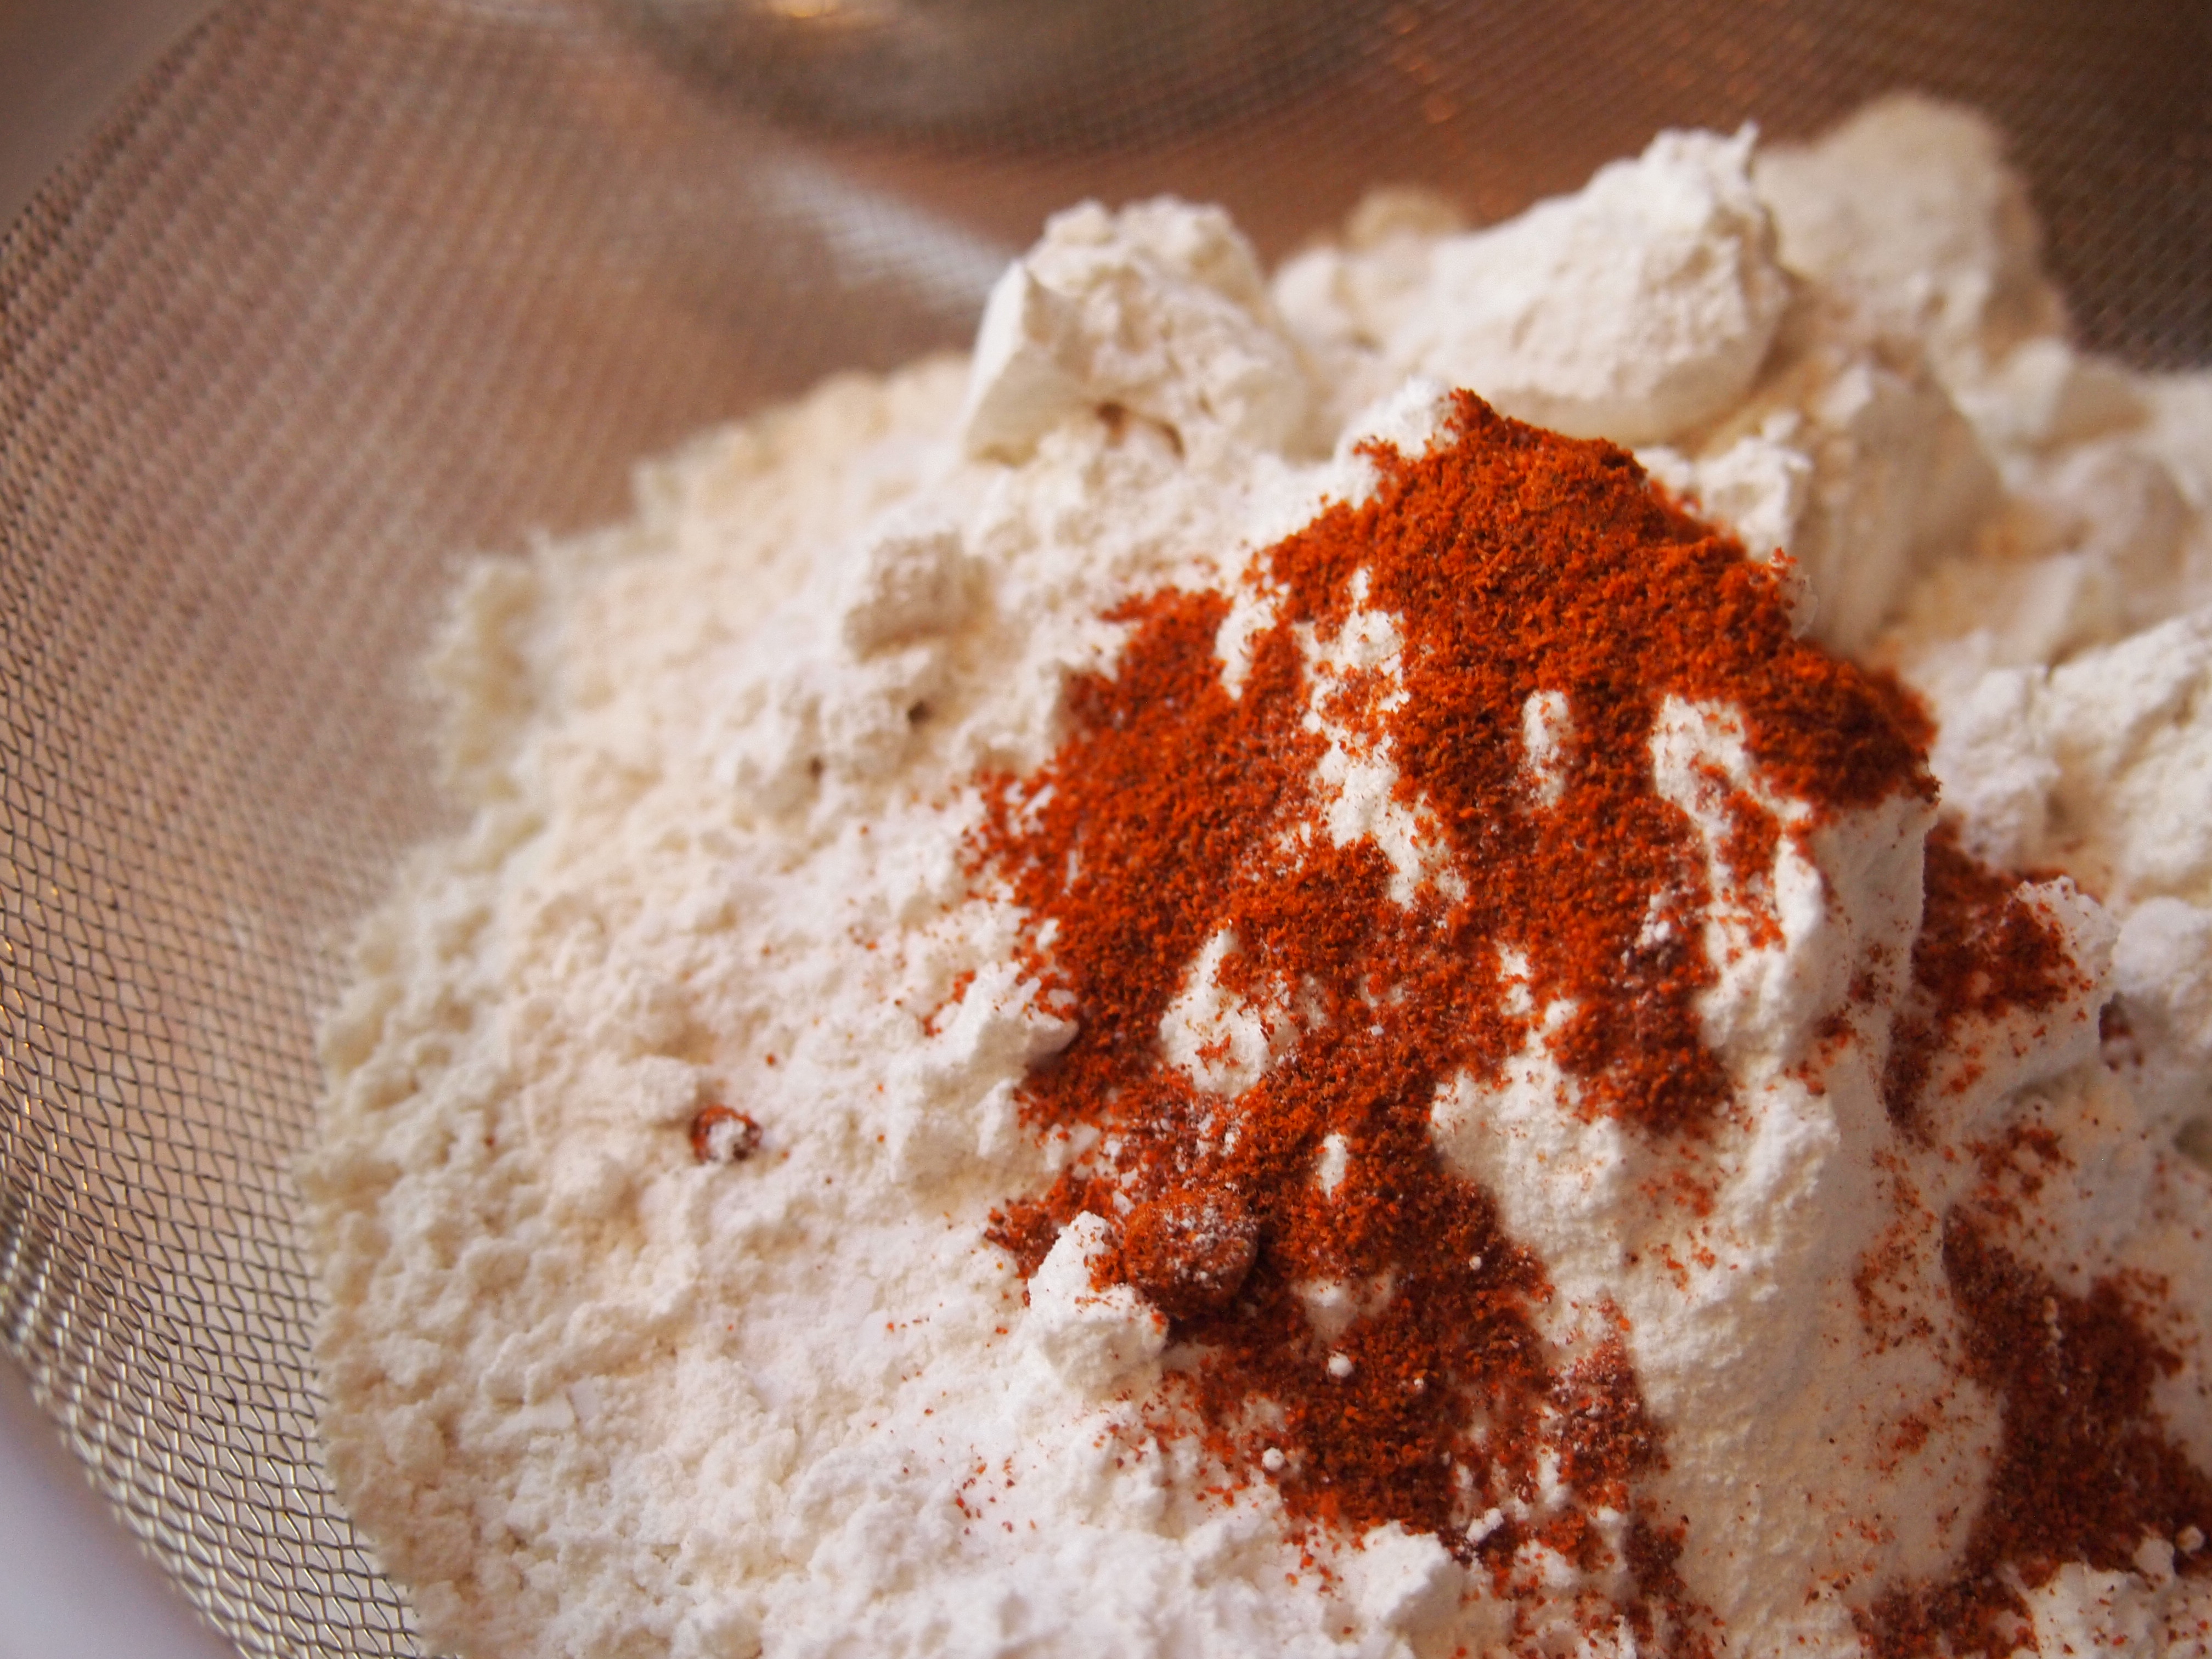
whisking all dry ingredients together

OLYMPUS DIGITAL CAMERA OLYMPUS DIGITAL CAMERA

about to cut the shortening in to the flour mixture

OLYMPUS DIGITAL CAMERA

ha ha, I’m a cut up, or in

OLYMPUS DIGITAL CAMERA

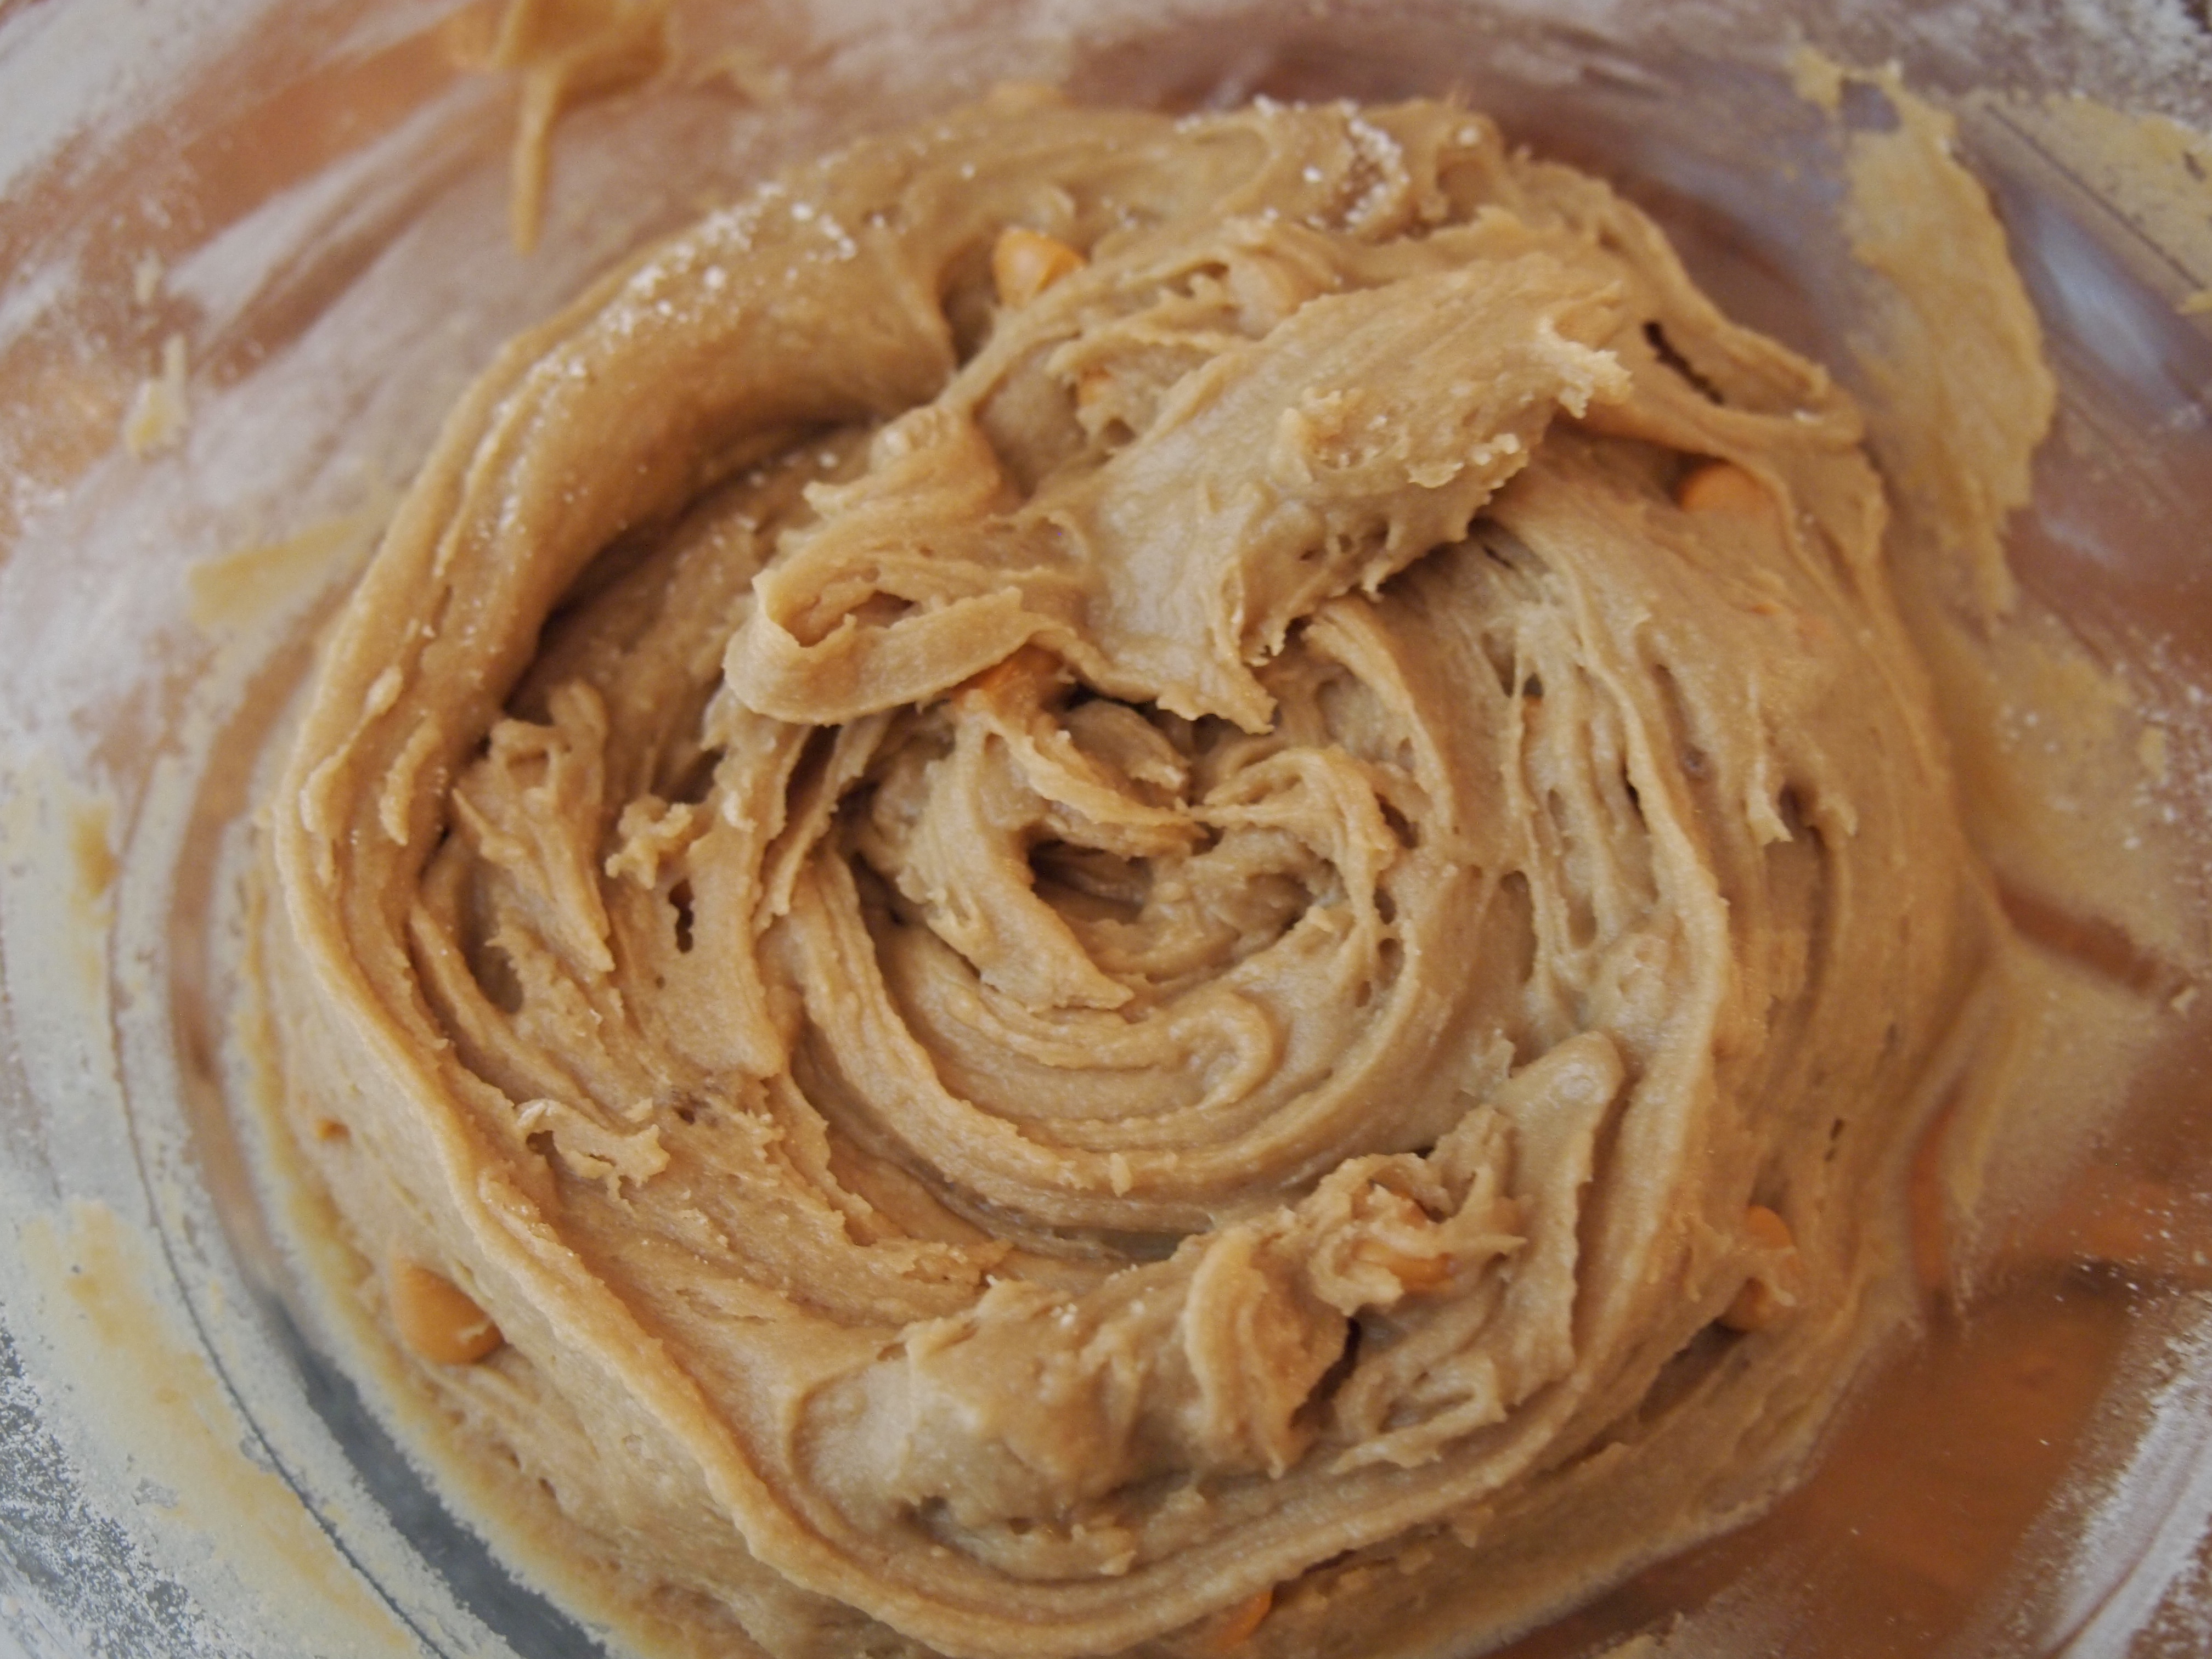
after stirring in the milk

OLYMPUS DIGITAL CAMERA

I mean REALLY flour the board

OLYMPUS DIGITAL CAMERA


ready for baking SIR!

OLYMPUS DIGITAL CAMERA

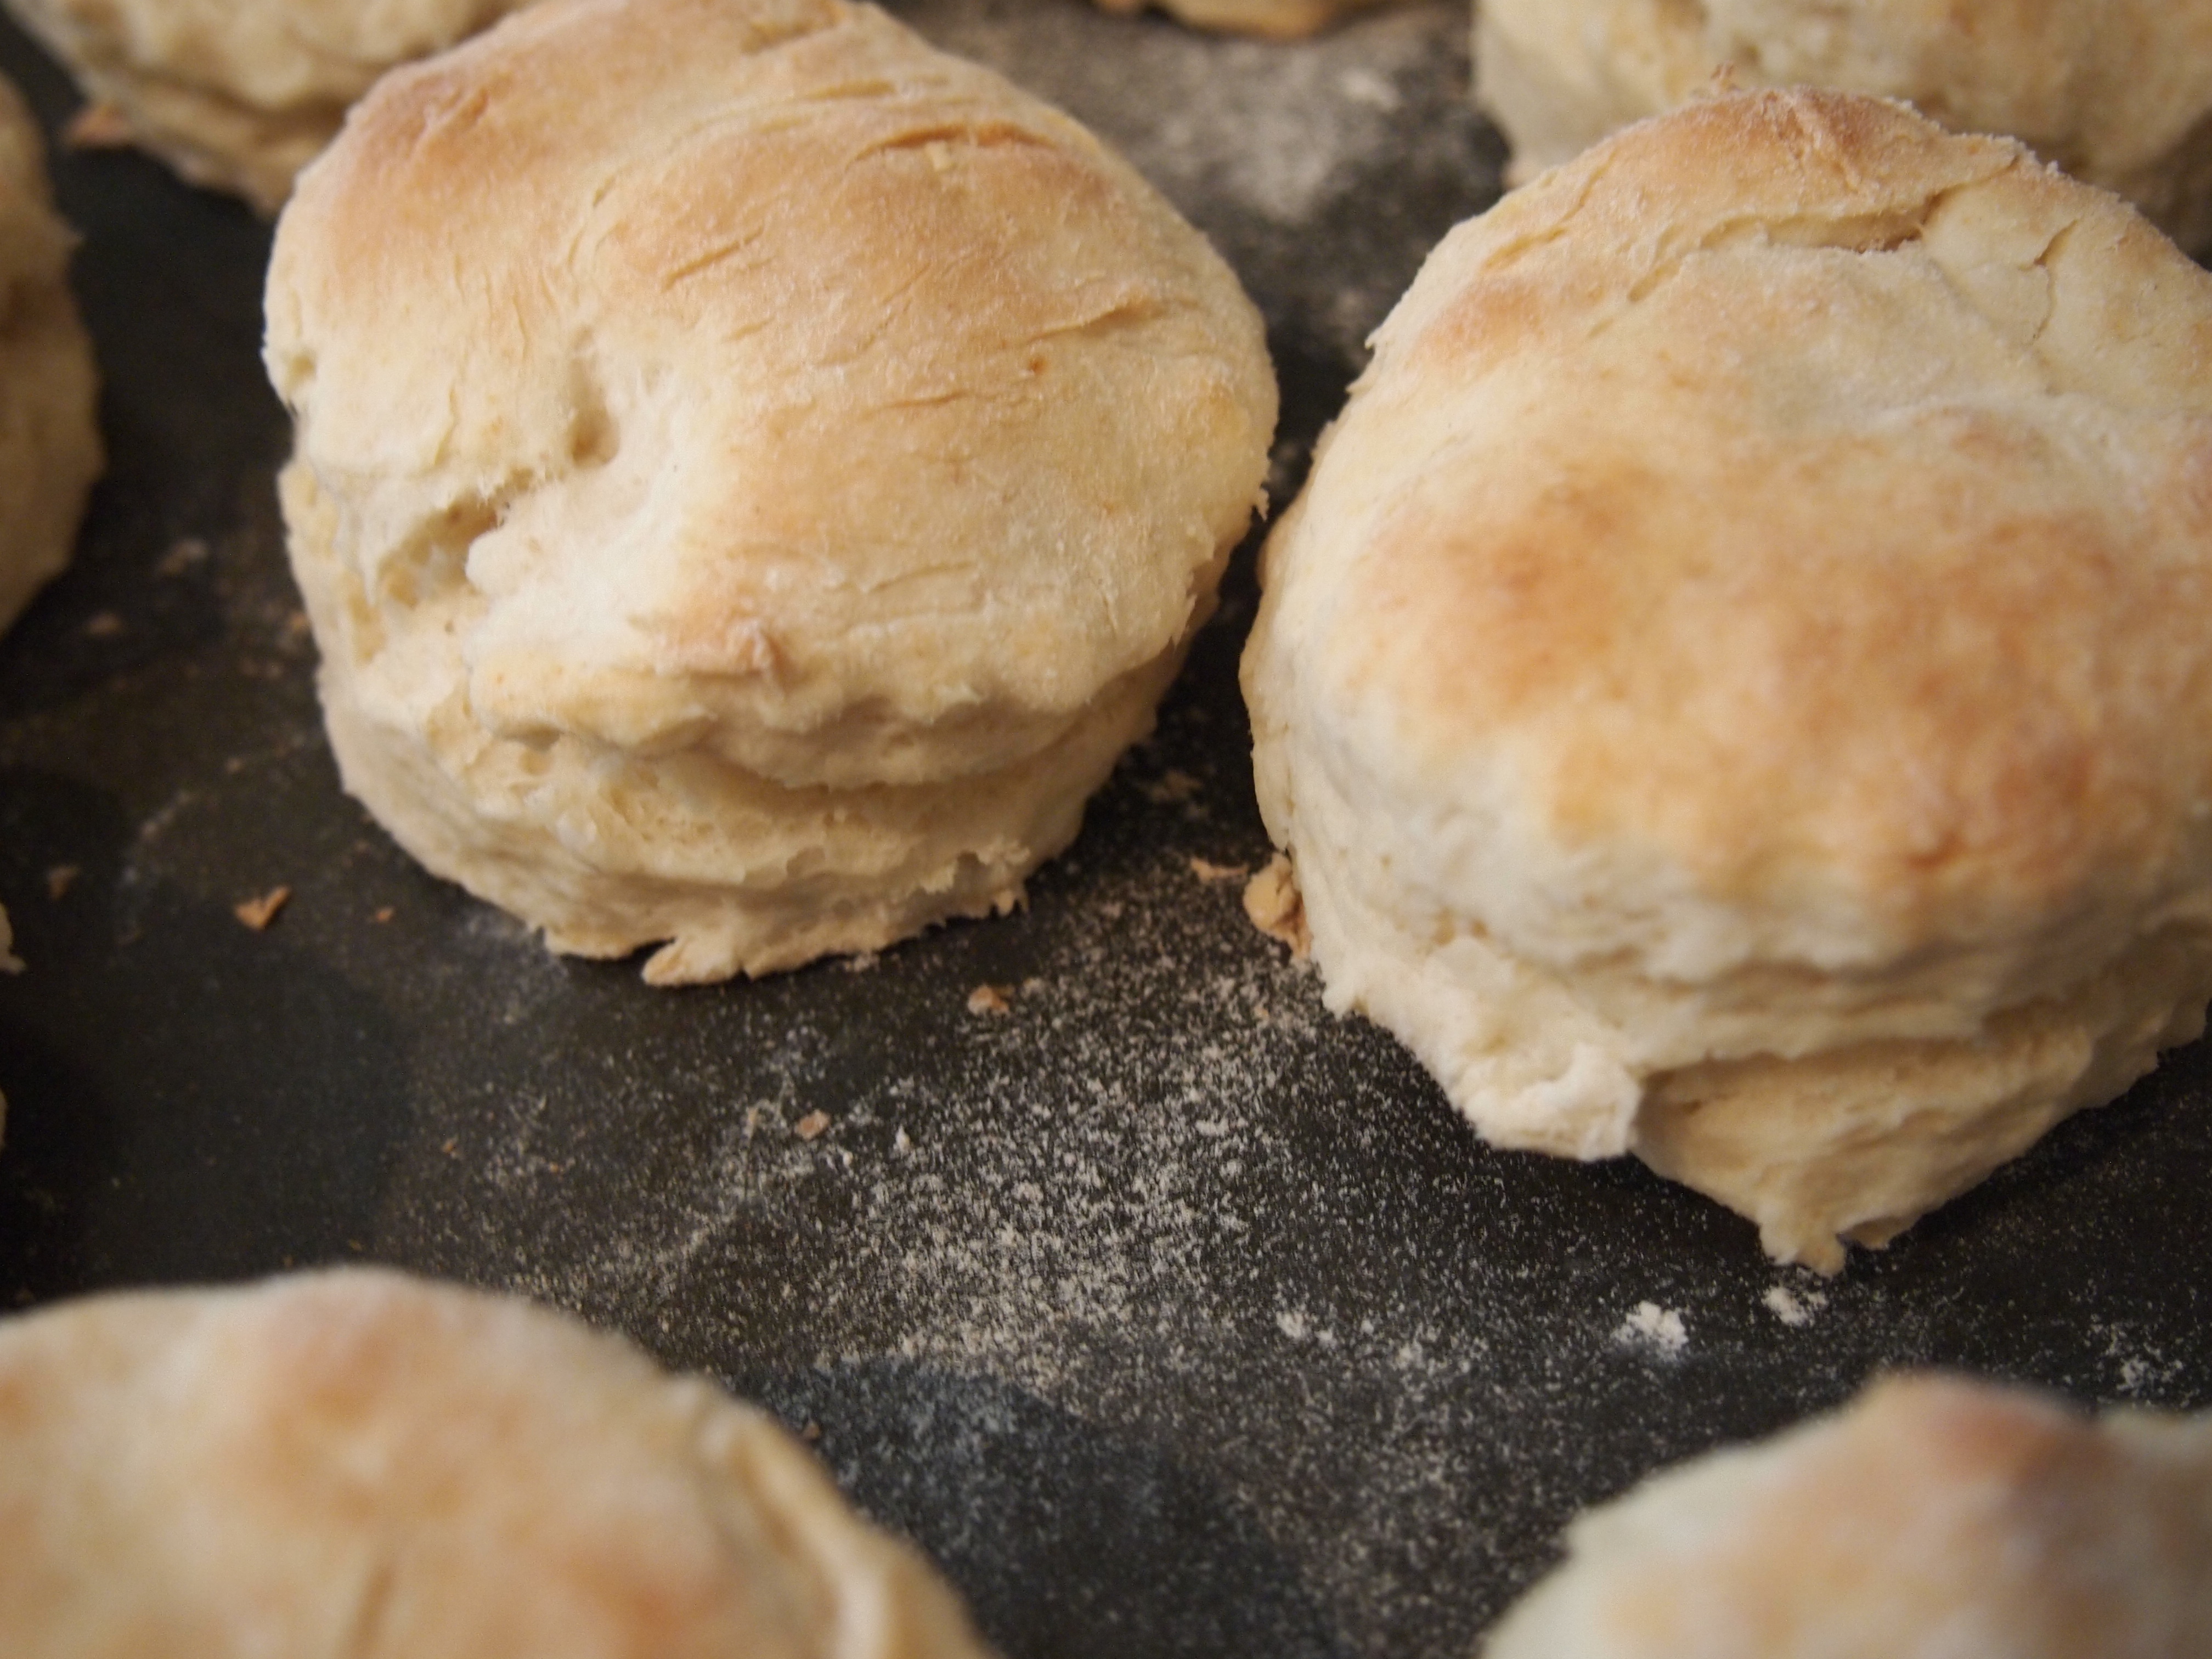
fresh out of the oven!
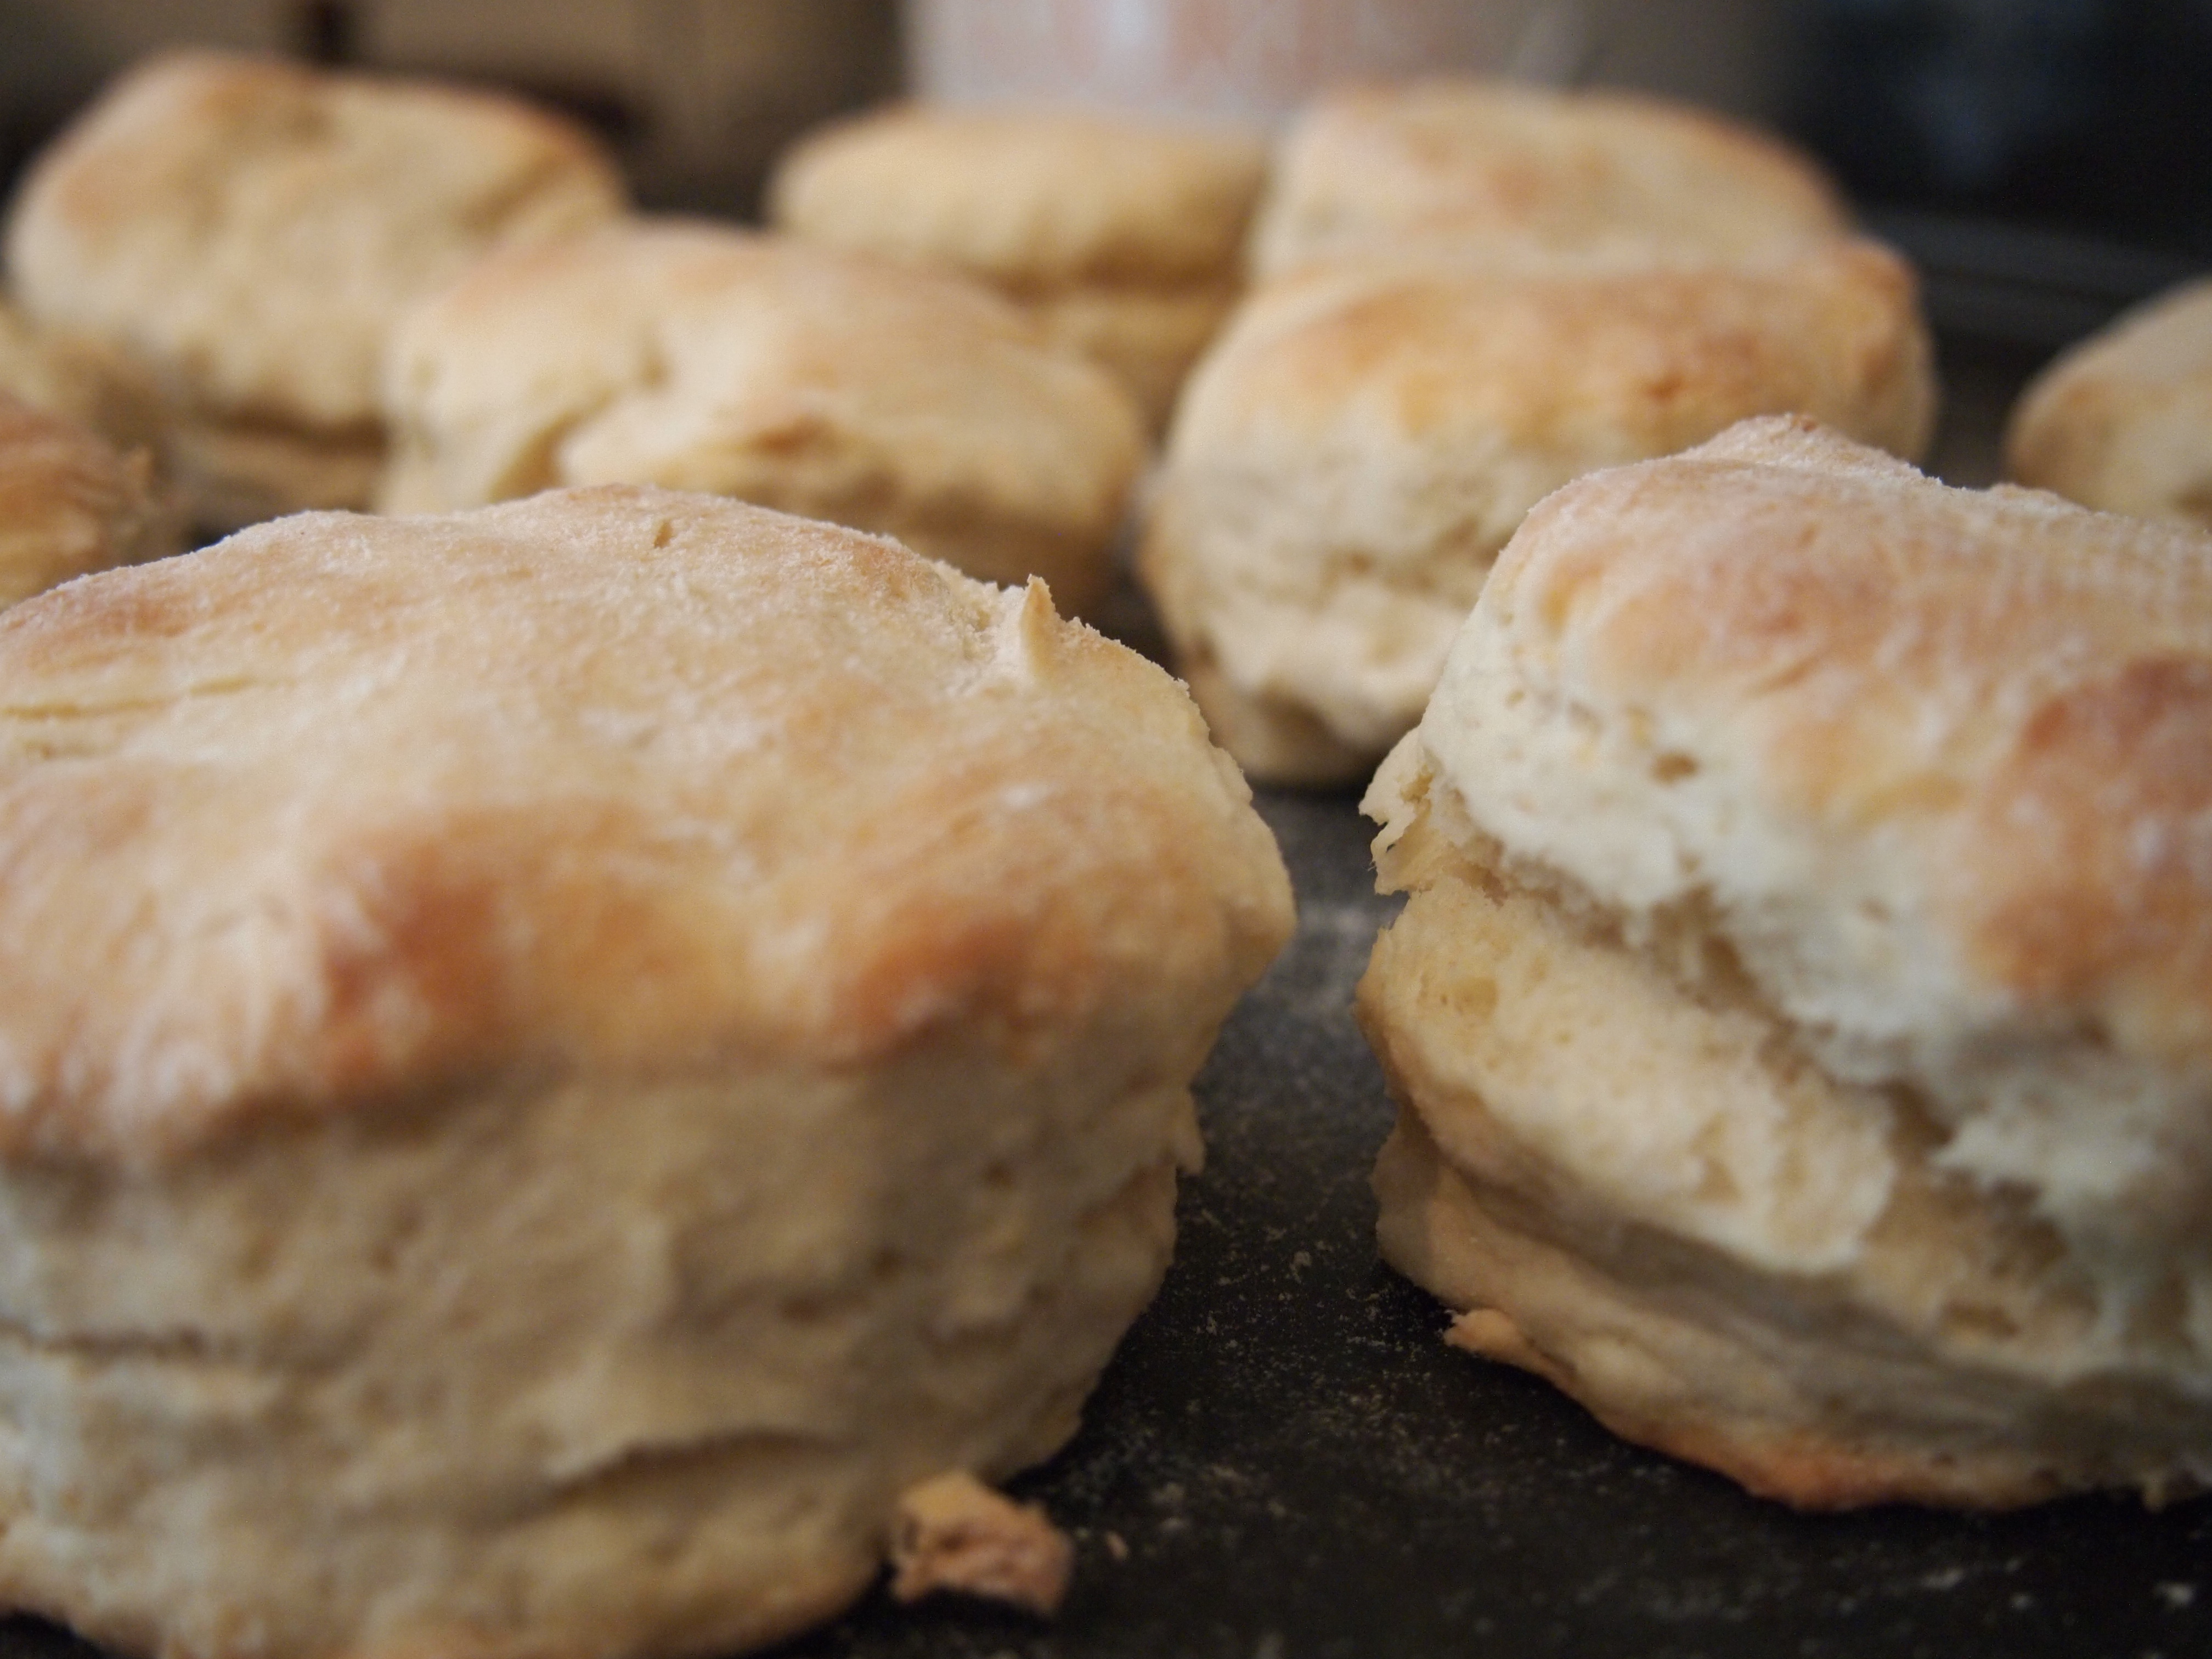
OLYMPUS DIGITAL CAMERA

Yummy!

OLYMPUS DIGITAL CAMERA

close up to tease you

OLYMPUS DIGITAL CAMERA

delicious European butter

OLYMPUS DIGITAL CAMERA

going in for the kill

OLYMPUS DIGITAL CAMERA


you catch more flies with honey…


The Recipe

Preheat the oven to 425 degrees.

2 cups of all purpose flour

1 T baking powder

1 t salt

1 to 1 1/2 T sugar

1/3 cup vegetable shortening

1 cup milk  * note, I always use whole milk when baking

butter, honey, jam – not required but you are going to want these on hand.  trust me on this one.

1. Sift or whisk together the dry ingredients.

2. Cut in the shortening until you have crumbs the size of small peas, like La Seur baby peas.  I love those….

3. Slowly stir in the milk until the dough comes together.

4. Turn the dough out onto a floured board.  Well floured folks!  This dough does not like to be poked, prodded or otherwise fussed over.

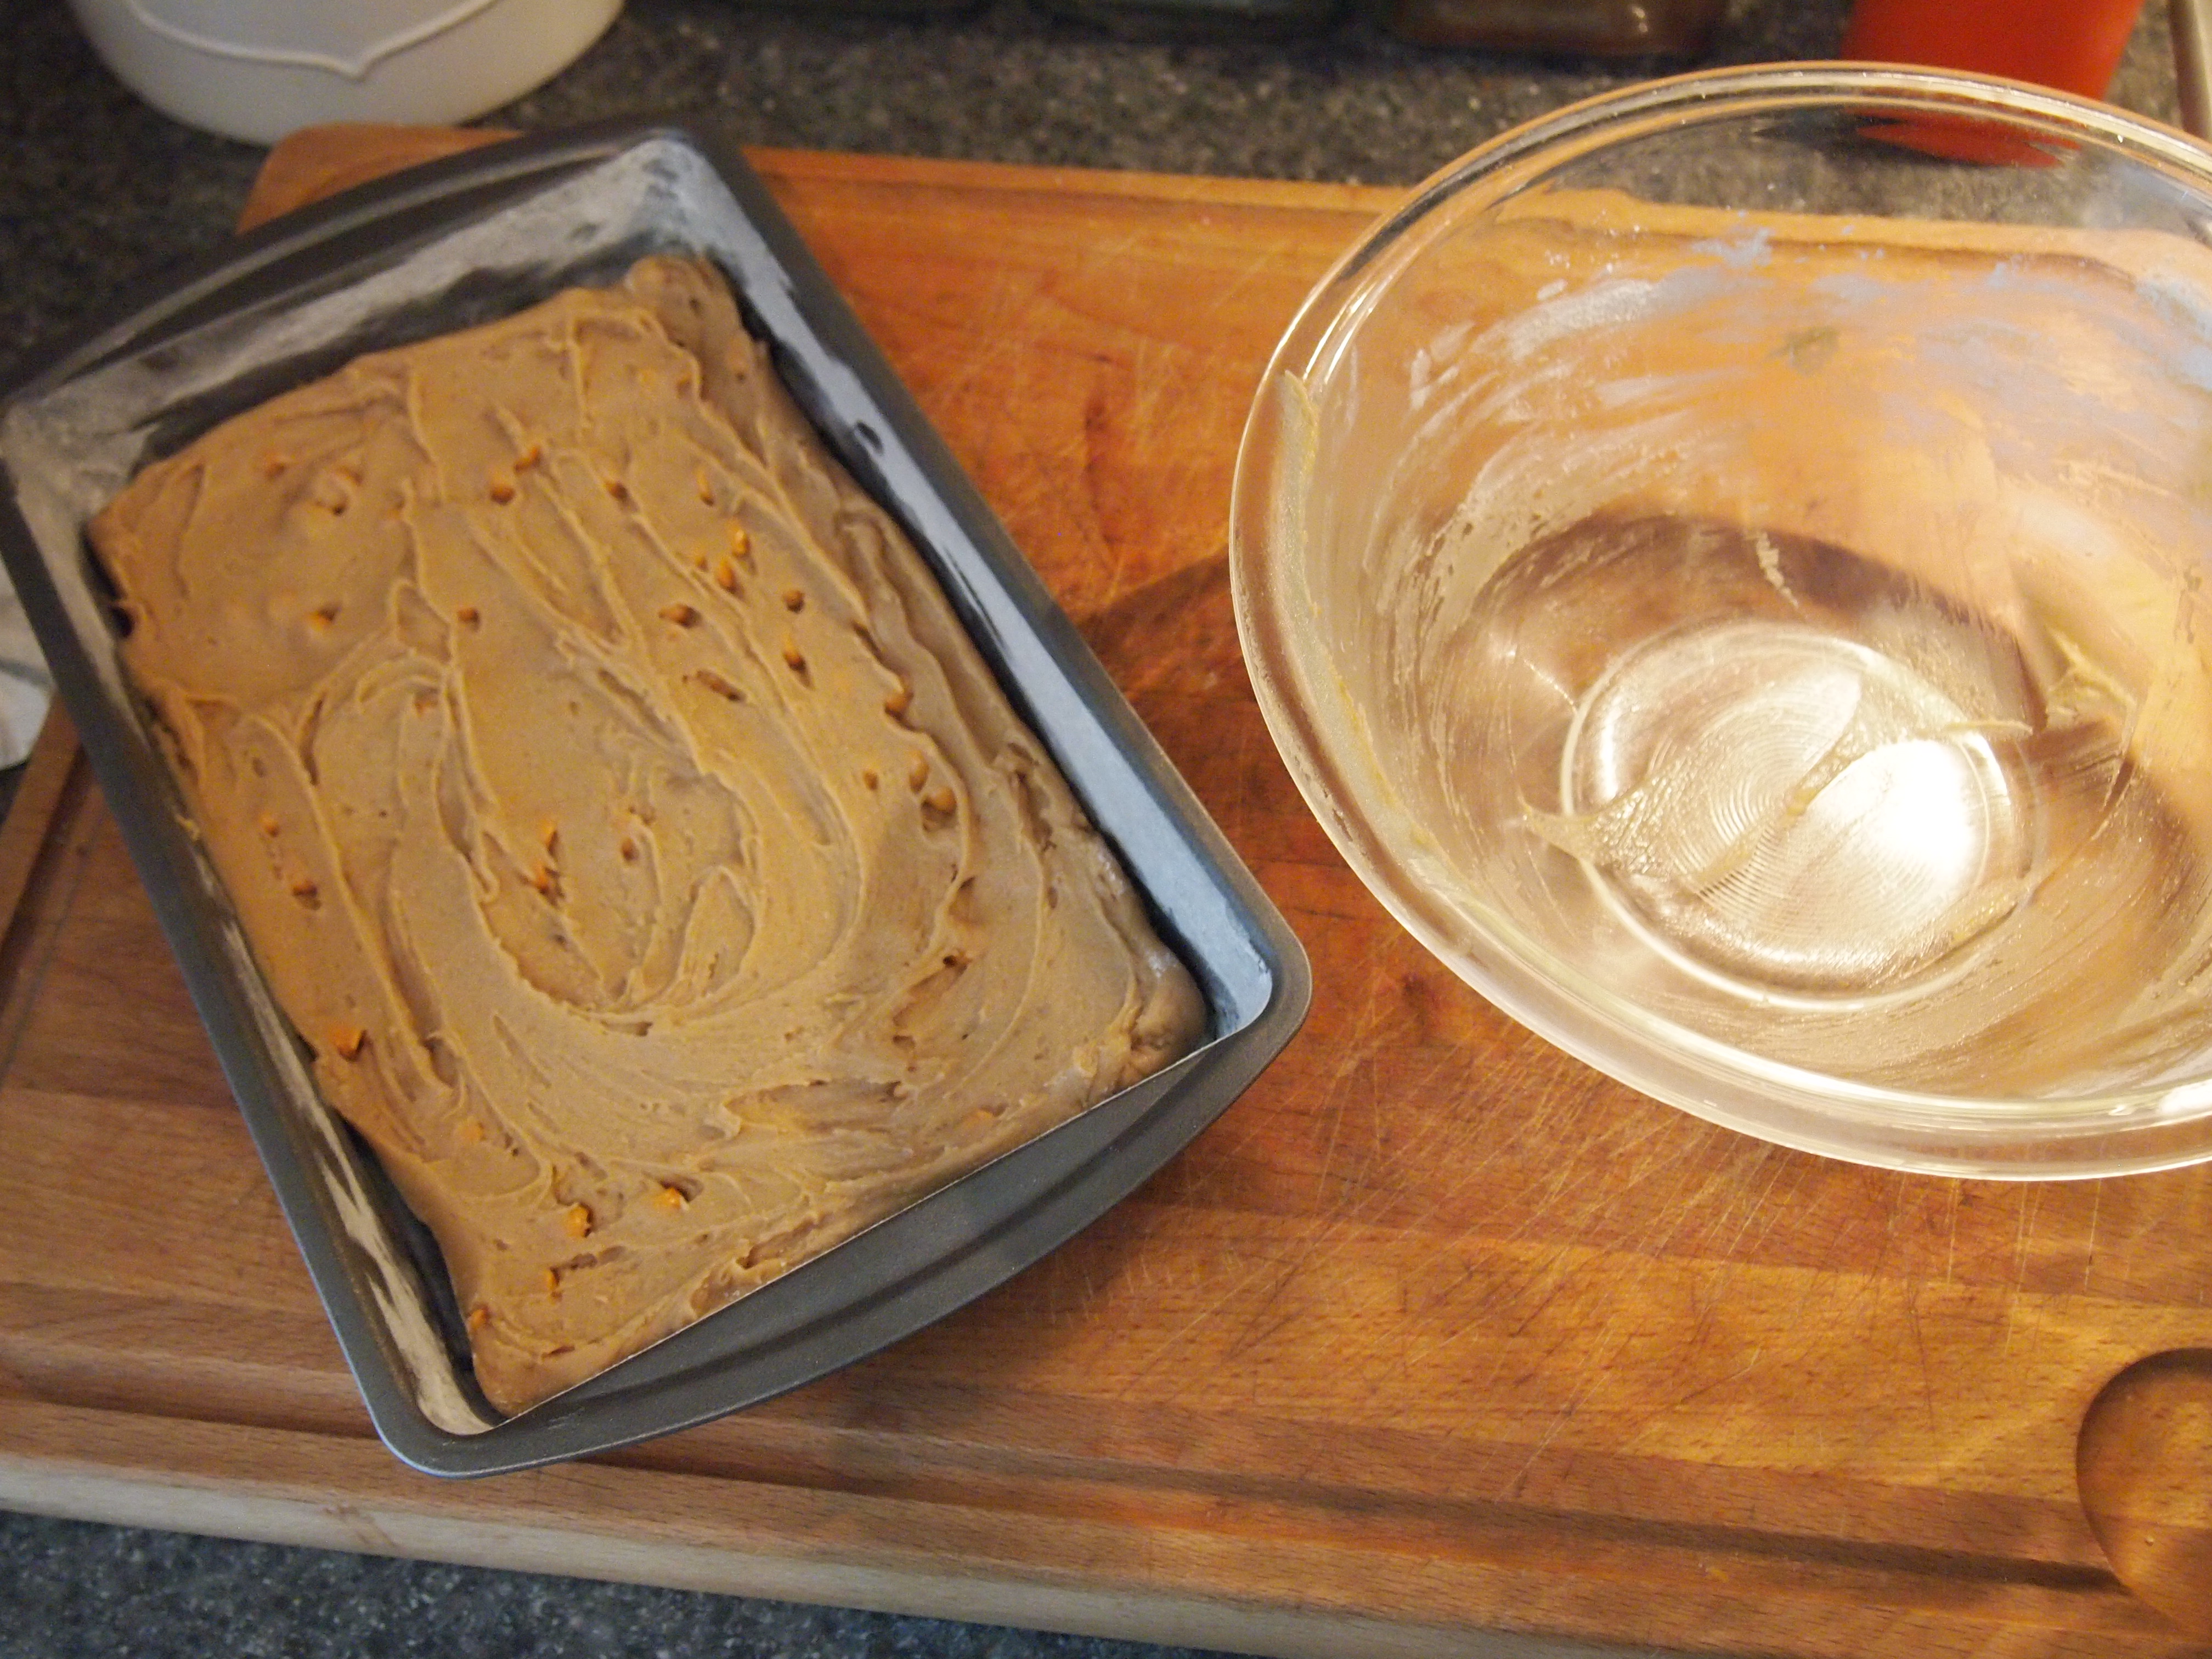
5. Gently form the dough into a disk about 3/4 to an inch thick.

Bake 12-14 minutes or until just golden brown on top.  Eat immediately.  OK, you can wait if you want to but I ate these immediately.

Sorry, I am still learning to type out recipes!

*NOTE – I brushed the flour off the tops because I do that when baking breads, I think it looks and tastes better to not start eating something covered in flour.

Blondies – Call me, call me any, anytime

There are few desserts that I find more simply satisfying or simple to make than Blondies.  I prefer to sing some song by Blondie when I make them, for good luck or good music – either way it works out for me.  I suggest “Call Me”, “Heart of Glass” or “Maria”.  Blondies are not at all like a brownie without chocolate.  A blondies flavor comes from the brown sugary goodness.  It is a dessert in its own right, not to be lumped in with brownies; a dessert I am sure to cover one of these days.  Blondies almost cry out to be served with a glass of ice-cold milk.  They are quick and easy and the result…amazing.  In an 8×8 pan you get 9 blondies.  I eat four, leaving two each for the boys.  Blondies have never brought out my best charitable attributes.   Don’t feel bad if you fall prey to their amber colored siren song.

This time, despite my best efforts of locating vanilla in our postage stamp sized kitchen, I used maple extract.  Maple brown sugar?Can’t be all bad.  Against my better judgement I threw in the 1/3 cup butterscotch chips.  There may be too many things going on and thereby overcomplicating my long-time favorite dessert.

I was at the casino once with my Husband Timothy and he bought one of the largest, best blondies I have ever had.  I should have asked for the recipe but I had casino fever; I came out about a grand ahead, but that was long ago.

The boys love these, I love these.  I don’t think I know anyone in real life that doesn’t like blondies.

Image

All the materials.

Image

buttered pan

Image

buttered and floured pan

Image

I love love love the look and feel of brown sugar.

Image

I could swim in the butter brown sugar mixture.

Image

Here I added the maple extract

Image

Added the salt, baking powder and baking soda.

Image

Hoping the butterscotch chips were a good idea.Image

Image

Image

Image

I always panic they weren’t going to level out in the pan.

Image

Nothing to do with blondies, but I got this for Tim for Christmas from http://fredandfriends.com

Image

Image

Blondie belly button 🙂  obviously, that is the hole from the toothpick test.

OLYMPUS DIGITAL CAMERA

OMG cooled and ready to eat.

OLYMPUS DIGITAL CAMERA

looking good old friends

OLYMPUS DIGITAL CAMERA

Serves 9 or 2 depending…

Preheat your oven to 350 F oven.  I think with baking it is important to preheat the over for at least 20 minutes prior to ensure even heat.

1/2 cup of butter, melted
1 cup of tightly packed dark brown sugar
1 egg, lightly beaten
1 t of vanilla – I used maple extract.
1/2 t baking powder
1/8 t of baking soda
pinch of salt
1 cup of all-purpose flour
1/3 cup of butterscotch chips

1) Preheat the oven to 350F. Prep an 8X8 pan with some butter and flour. Whisk together the melted butter and sugar in a bowl.

2) Add the egg and vanilla extract and whisk.

3) Add the flour, baking soda, baking powder, and salt, mix it all together. Add the chocolate chips or other mix-ins.

4) Pour into the pan and spread evenly. Bake for 20-25 minutes or until a toothpick comes out clean. Allow to cool. Cut into squares and serve.

Cheese Straws – Southern or not, mostly delicious

Although my friend Mo and her mom Cat might deny that Cheese Straws are indeed a Southern Classic; I made them and they are wonderful…but what do you eat them with?  The boys “liked them” but the oldest said they dried his mouth out a little and maybe some ham on them would be better.

Below is the recipe I used.  I am not sure I will make them again anytime soon.  Maybe I am not Southern enough or maybe I just wasn’t the biggest fan.  I have read other recipes and they say to bake until crisp.  Maybe I just need to play around with these some more.

I think more salt, and maybe some dry mustard would be an improvement or even some bacon grease, but then again there are very few things that bacon grease doesn’t improve in the kitchen.  Even our cat Thai would likely agree to this idea!

OLYMPUS DIGITAL CAMERA

Our family cat: Thai

OLYMPUS DIGITAL CAMERA

Sifting the dry ingredients together.

OLYMPUS DIGITAL CAMERA

Creaming the butter and cheese together.  Total nightmare. Next time I am using the stand Mixer. OLYMPUS DIGITAL CAMERA

Cool it buddy!

OLYMPUS DIGITAL CAMERA  

All finished

OLYMPUS DIGITAL CAMERA

Ingredients:
A little less than 2 cups all purpose flour

1/2 t cayenne pepper

1/2 t kosher salt

2 sticks butter, at room temperature ( apparently softer than 2 hours in a 73 degree house)
2 cups shredded Cheddar cheese although I hear parmesan works great too.

The How To:

Preheat the oven to 310 degrees F.

Use a mixer to cream together the butter and the cheese then set this aside.  At this point I was ready to throw in the towel because cheese and not quite soft enough butter were flinging  all over the kitchen.  Sift the flour, cayenne pepper and salt together  into a bowl.  Add the dry mixture 1/2 cup at a time into the creamed butter and cheese.  I was told to pipe them onto a cookie sheet using a large star tip.  That wasn’t going to happen in a million years.   I did not get a soft batter but more like a soft pie dough consistency.  Luckily my husband had a cookie spritzer and I used that, which was the perfect tool in my opinion.

Bake for about 15 minutes until set and lightly toasted.  Cool on cookie racks.